
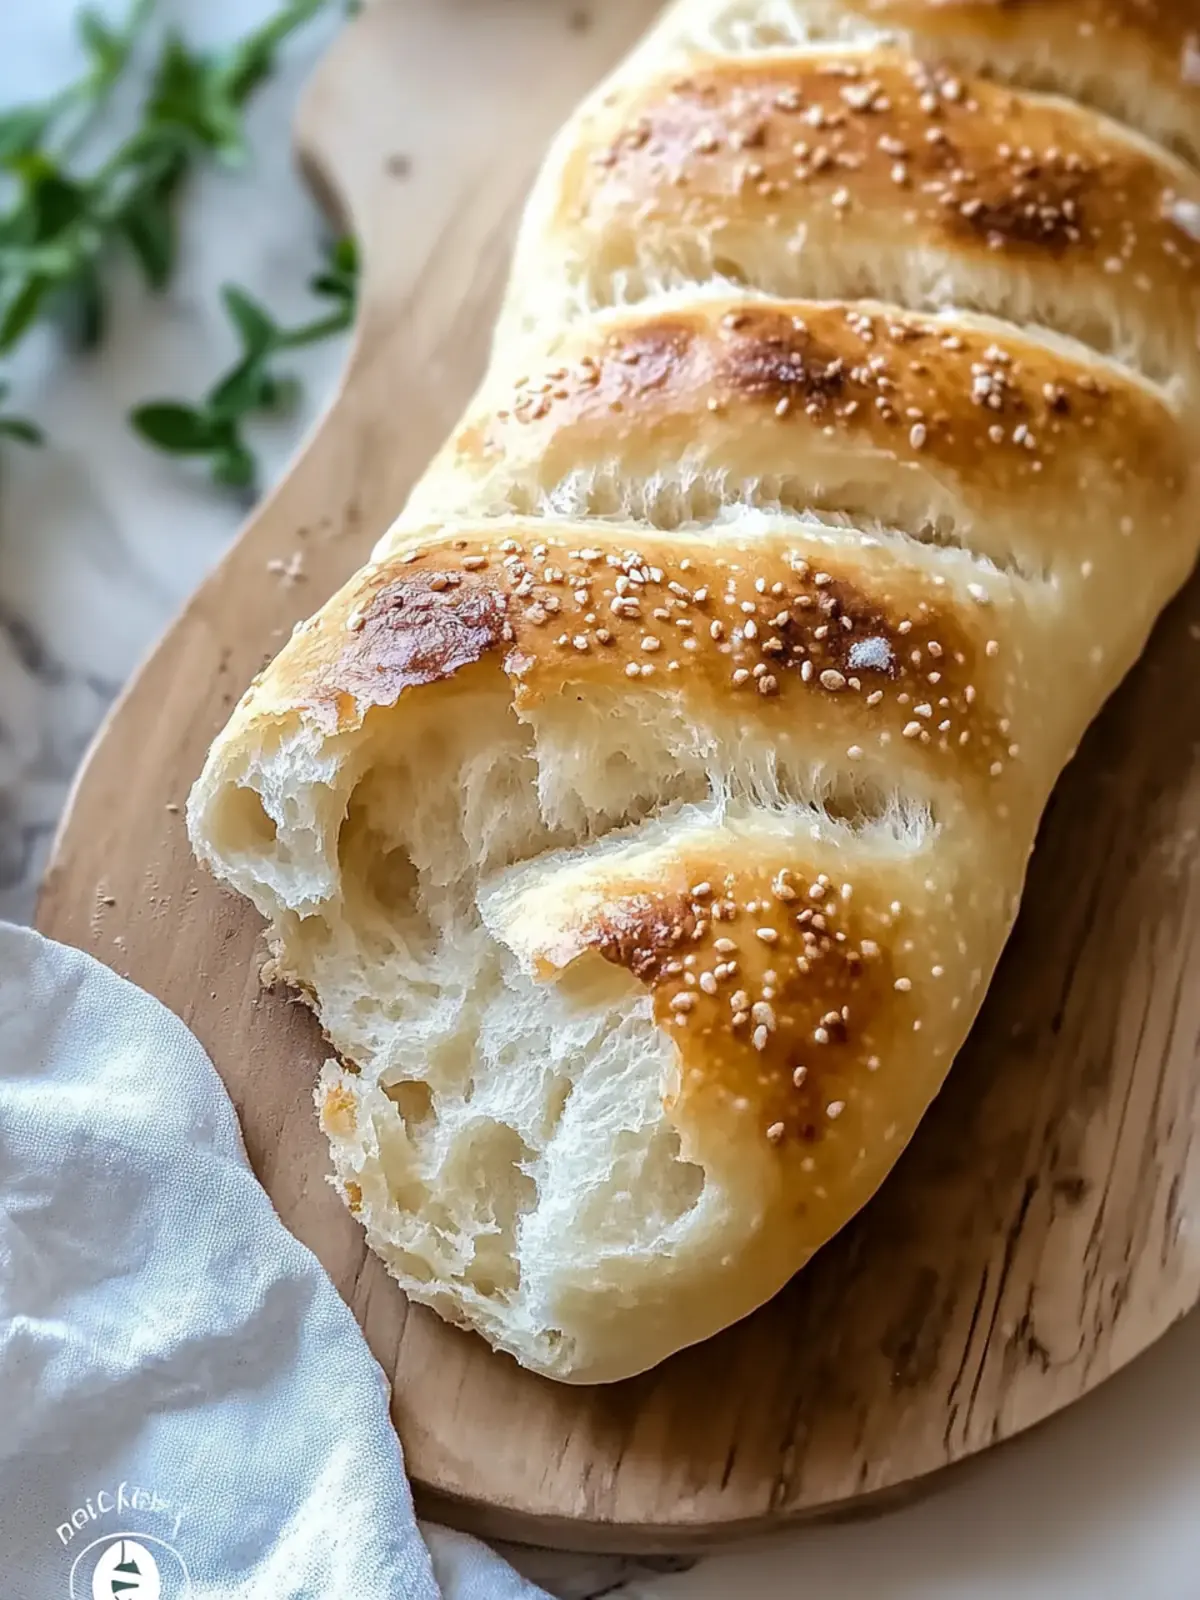
As the scent of freshly baked bread wafts through my kitchen, I’m reminded of the joy that comes with sharing comforting food. Today, I’m excited to introduce you to my go-to recipe for No-Oven Turkish Bread. Whether you’re tired of fast food or simply seeking a delicious homemade option, this soft, fluffy flatbread is here to elevate your meals. Picture sinking your teeth into warm, golden-brown bread, perfect for tearing apart and enjoying alongside dips, soups, or grilled meats.
The beauty of this recipe lies not only in its delightful flavor but also in its simplicity. No oven is required! Just a skillet and some basic ingredients, and you’ll be creating your own artisan-style bread in no time. Let me guide you through this easy process, where each step is filled with the promise of a warm, personal touch to your dining experience. Ready to roll up your sleeves? Let’s dive into making the ultimate No-Oven Turkish Bread!

Why is No-Oven Turkish Bread so special?
Simplicity at its Finest: Crafting this bread requires only a skillet and a few pantry staples, making it incredibly accessible.
Soft and Fluffy: Expect a light texture that perfectly complements savory toppings or acts as a vessel for your favorite dips.
No Need for an Oven: Say goodbye to preheating and wasted energy; this recipe is all about convenience—ideal for those warm days when you want to keep the kitchen cool.
Versatile Delights: Enjoy it as a side, slice it for sandwiches, or use it as a base for creative flatbread pizzas.
Quick and Easy: From start to finish, you’ll have fresh, warm bread in under two hours. If you’re keen to expand your baking repertoire, check out other easy bread recipes.
No-Oven Turkish Bread Ingredients
• Here’s what you’ll need for this easy bread recipe!
For the Dough
- All-purpose flour – Essential for the bread’s base; no substitutions recommended for texture.
- Salt – Enhances overall taste; crucial for balance.
- Sugar – Aids in browning and flavor development; can be substituted with honey.
- Instant yeast – Provides rise without extra prep; can be substituted with active dry yeast (see activation notes).
- Warm milk – Helps create a softer texture; can be replaced with water for a dairy-free option.
- Warm water – Required for dough consistency; should be warm but not hot to activate yeast.
- Olive oil or melted butter – Adds flavor and moisture; can be substituted based on preference (coconut oil or margarine).
For Toppings (Optional)
- Melted butter – Adds richness when brushed on top.
- Minced garlic – Flavor enhancement; optional enhancement.
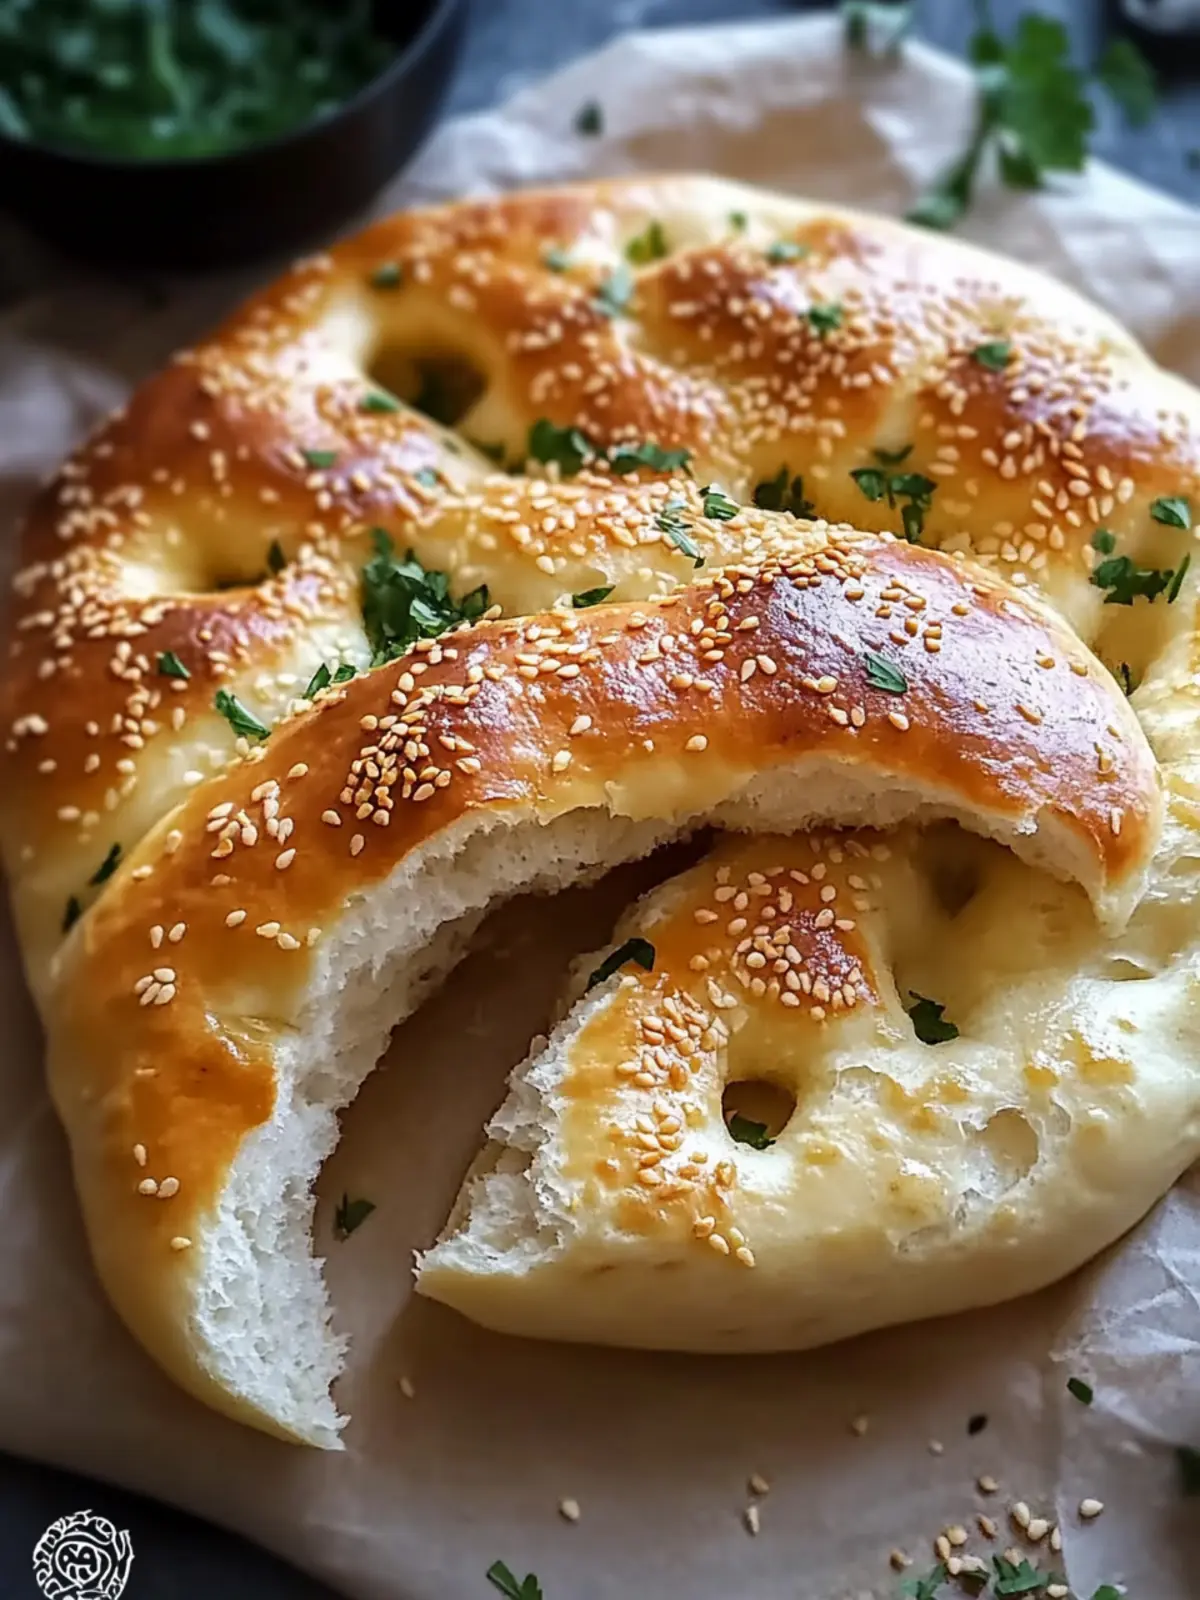
- Sesame seeds – Crunch and flavor; optional for garnish.
- Chopped parsley or cilantro – Freshness; optional for garnish.
This No-Oven Turkish Bread is not just easy to make but promises to bring warmth and flavor to your meals!
How to Make No-Oven Turkish Bread
-
Combine Ingredients: In a large mixing bowl, whisk together the all-purpose flour, salt, sugar, and instant yeast until well mixed. This is the base that will give your bread structure and flavor.
-
Add Wet Ingredients: Slowly pour in the warm milk and warm water, followed by the olive oil or melted butter. Mix until a shaggy dough begins to form. The warmth helps activate the yeast for that fluffy texture we crave.
-
Knead the Dough: Transfer the dough to a floured surface and knead for at least 8 minutes. You want the dough to be smooth and elastic; this is crucial for achieving that delightful bread texture!
-
Let It Rise: Place the kneaded dough in a lightly greased bowl, cover it with a clean kitchen towel, and let it rise in a warm spot until it doubles in size—about 1 hour. Patience is key to the perfect bread!
-
Shape the Dough: Punch down the risen dough gently to release the air. Divide the dough into portions and shape them into circles or discs, depending on your desired size and thickness.
-
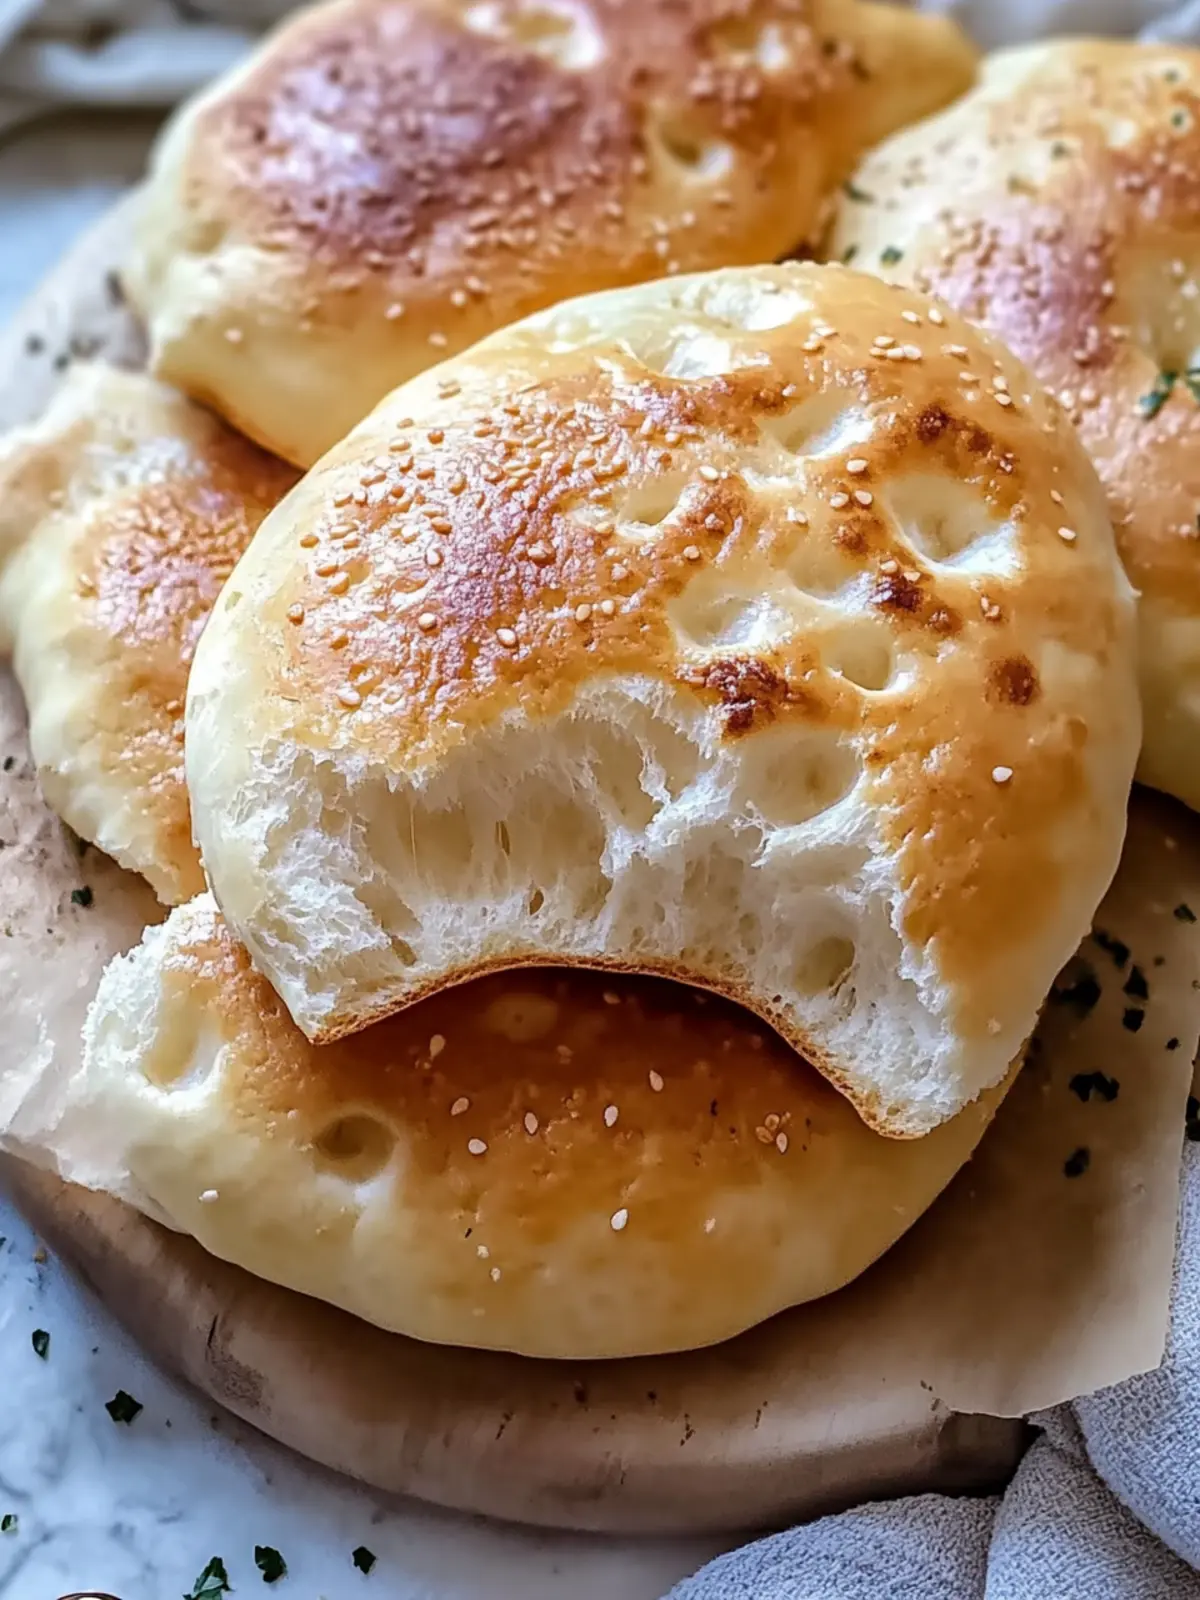
Cook in Skillet: Preheat a skillet over medium heat. Cook each dough portion for about 2-3 minutes on each side or until golden brown. You’ll know it’s ready when it fills your kitchen with the aroma of fresh bread!
-
Add Toppings (Optional): If you like, brush your warm bread with melted butter and sprinkle minced garlic, sesame seeds, or chopped herbs for an extra flavor boost.
Optional: Enjoy the bread warm with your favorite dips or soups!
Exact quantities are listed in the recipe card below.
What to Serve with No-Oven Turkish Bread?
Imagine a cozy table filled with warmth and laughter, accompanied by delicious dishes that truly bring your No-Oven Turkish Bread to life.
- Creamy Hummus: Its velvety texture and rich flavor make for an irresistible dip that pairs perfectly with the soft bread.
- Hearty Lentil Soup: The earthy flavors of this soup are a match made in heaven; dip your bread for a comforting experience.
- Grilled Vegetables: Smoky, caramelized veggies add a fresh element, offering a delightful balance with the fluffy bread.
- Spicy Yogurt Dip: This tangy, spicy blend brings a zing that enhances the bread’s flavor, making every bite exciting.
- Olive Tapenade: The briny, bold flavors of this tapenade beautifully complement the bread, creating a delightful taste explosion.
- Garlic Butter Shrimp: Pair it with succulent shrimp sautéed in garlic butter; the bread is perfect for soaking up the luscious sauce.
- Roasted Red Pepper Spread: Sweet and smoky, this spread adds a sophisticated flair, making it perfect for casual gatherings or dinner parties.
- Rosemary Infused Olive Oil: A simple dip that showcases the world of flavors; it’s a refreshing addition to your bread’s delightful simplicity.
- Minted Yogurt Salad: The coolness of mint and yogurt is a bright contrast to the warm bread, adding a refreshing side alongside any meal.
Expert Tips for No-Oven Turkish Bread
-
Kneading is Key: Make sure to knead the dough thoroughly for at least 8 minutes. This develops gluten, giving your No-Oven Turkish Bread the perfect airy texture.
-
Watch the Rise: Allow the dough to rise until it doubles in size, approximately 1 hour. If it doesn’t rise enough, your bread may turn out denser than desired.
-
Heat Control: Use a skillet that provides enough space between dough pieces to ensure even cooking. Overcrowding can result in unevenly cooked bread.
-
Experiment with Toppings: Get creative! Try brushing the bread with melted butter and sprinkling with garlic, sesame seeds, or fresh herbs for added flavor before serving.
-
Check the Temperature: Use warm (not hot) water and milk when mixing in the wet ingredients. Too hot can kill the yeast, affecting the rise.
-
Storage Tips: Keep any leftover No-Oven Turkish Bread in an airtight container at room temperature for up to two days. Reheat gently to regain its fluffy goodness!
Make Ahead Options
These No-Oven Turkish Bread are perfect for busy cooks looking to save time during the week! You can prepare the dough up to 24 hours in advance and refrigerate it; just be sure to cover it tightly with plastic wrap to prevent drying out. Alternatively, you can shape the dough into discs and store them in a single layer between parchment paper for easy access. When you’re ready to enjoy, simply take the dough out and let it come to room temperature for about 30 minutes before cooking. Trust me, even when prepped ahead, these breads will be just as delicious and fluffy, providing a delightful touch to your meals!
How to Store and Freeze No-Oven Turkish Bread
Room Temperature: Keep No-Oven Turkish Bread in an airtight container or wrapped in a clean kitchen towel to maintain softness for up to 2 days.
Fridge: For longer storage, place the bread in an airtight container in the fridge. It can last for up to a week, but may lose some of its original fluffiness.
Freezer: To freeze, wrap individual pieces in plastic wrap, then place them in a freezer bag. They can be frozen for up to 3 months.
Reheating: Thaw frozen bread in the fridge overnight, then reheat in a skillet over low heat for a couple of minutes, bringing back that soft, fluffy texture you love.
No-Oven Turkish Bread Variations
Feel free to unleash your creativity and adapt this lovely bread recipe to suit your taste preferences!
-
Whole Wheat: Swap all-purpose flour for whole wheat flour for added nuttiness and nutrition. It creates a heartier texture that’s equally delightful.
-
Gluten-Free: Use a gluten-free flour blend in place of all-purpose flour. Ensure it contains xanthan gum to help achieve a similar texture.
-
Herbed Delight: Mix dried herbs like oregano or thyme into the dough for an aromatic twist. This enhances the flavor and pairs beautifully with your favorite dips.
-
Spicy Kick: Add a pinch of cayenne pepper or chili flakes to the dough to bring some heat to your flatbread. Perfect for those who enjoy a little spice!
-
Garlic Infusion: Incorporate finely minced garlic directly into the dough for an extra layer of flavor. You’ll love the savory aroma as it cooks!
-
Sweet Treat: Stir in a tablespoon of honey with the milk for a subtly sweet version. It’s perfect for serving with honey or jam for breakfast.
-
Cheesy Goodness: Fold in shredded cheese, such as mozzarella or feta, into the dough for a rich, savory bread option. This will make for a delightful cheesy pull!
-
Sweet Potato: Replace some of the warm water with pureed cooked sweet potato for a naturally sweet and colorful variation. You’ll enjoy both the flavor and nutrition!
As you can see, there are countless ways to transform your No-Oven Turkish Bread, keeping mealtime exciting and aligned with your dietary needs. Enjoy experimenting!
No-Oven Turkish Bread Recipe FAQs
What type of flour should I use for No-Oven Turkish Bread?
I recommend using all-purpose flour for this recipe, as it provides the best structure and texture. Avoid any substitutions unless you’re familiar with alternative flours, as they can change the consistency significantly.
How should I store No-Oven Turkish Bread?
Store your No-Oven Turkish Bread in an airtight container at room temperature for up to 2 days. If you have leftovers, you can keep them in the fridge for up to a week, but the bread may lose some fluffiness.
Can I freeze No-Oven Turkish Bread?
Absolutely! To freeze, wrap individual pieces tightly in plastic wrap and then place them in a freezer bag. They’ll stay fresh for up to 3 months. When you’re ready to enjoy, simply thaw them in the fridge overnight and reheat gently in a skillet.
Why did my dough not rise properly?
If your dough isn’t rising, it may be due to inactive yeast. Make sure your warm ingredients (water and milk) aren’t too hot, as high temperatures can kill the yeast. If you’re using active dry yeast instead of instant, remember to activate it in warm water with a bit of sugar before mixing it into the dry ingredients.
Are there any dietary considerations for No-Oven Turkish Bread?
If you have allergies, it’s important to note that this recipe contains gluten (from flour) and dairy (if using milk). For a gluten-free version, you can experiment with gluten-free flour blends, and for a dairy-free option, replace warm milk with water or plant-based milk.
What if my bread is too dense?
If your No-Oven Turkish Bread turns out dense, it might be due to not kneading it long enough or not letting it rise fully. Ensure you knead the dough for at least 8 minutes to develop gluten and allow sufficient rise time until it doubles in size—this is crucial for achieving that soft, fluffy texture!
No-Oven Turkish Bread: Your New Favorite Easy Flatbread
Ingredients
Equipment
Method
- In a large mixing bowl, whisk together the all-purpose flour, salt, sugar, and instant yeast until well mixed.
- Slowly pour in the warm milk and warm water, followed by the olive oil or melted butter. Mix until a shaggy dough begins to form.
- Transfer the dough to a floured surface and knead for at least 8 minutes until smooth and elastic.
- Place the kneaded dough in a lightly greased bowl, cover with a kitchen towel, and let it rise until it doubles in size, about 1 hour.
- Punch down the risen dough gently to release the air. Divide and shape into circles or discs.
- Preheat a skillet over medium heat. Cook each dough portion for 2-3 minutes on each side until golden brown.
- If desired, brush warm bread with melted butter and sprinkle with minced garlic, sesame seeds, or chopped herbs.