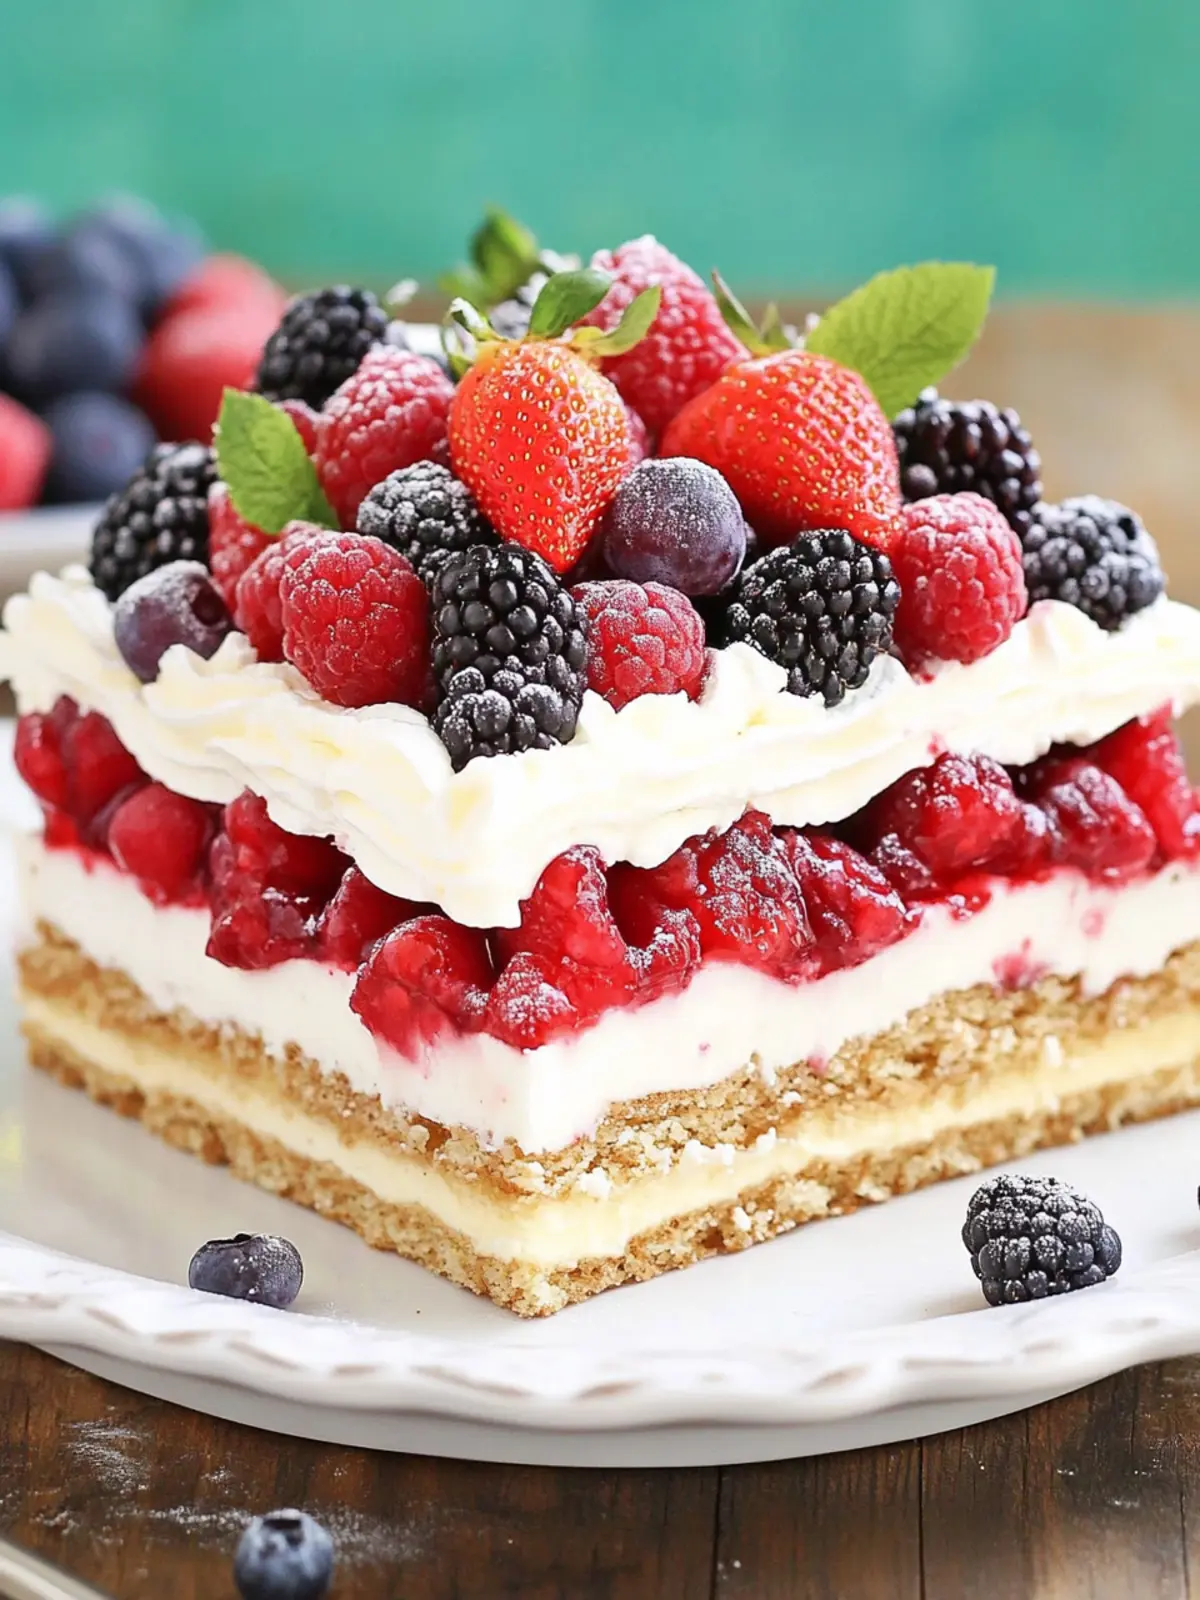
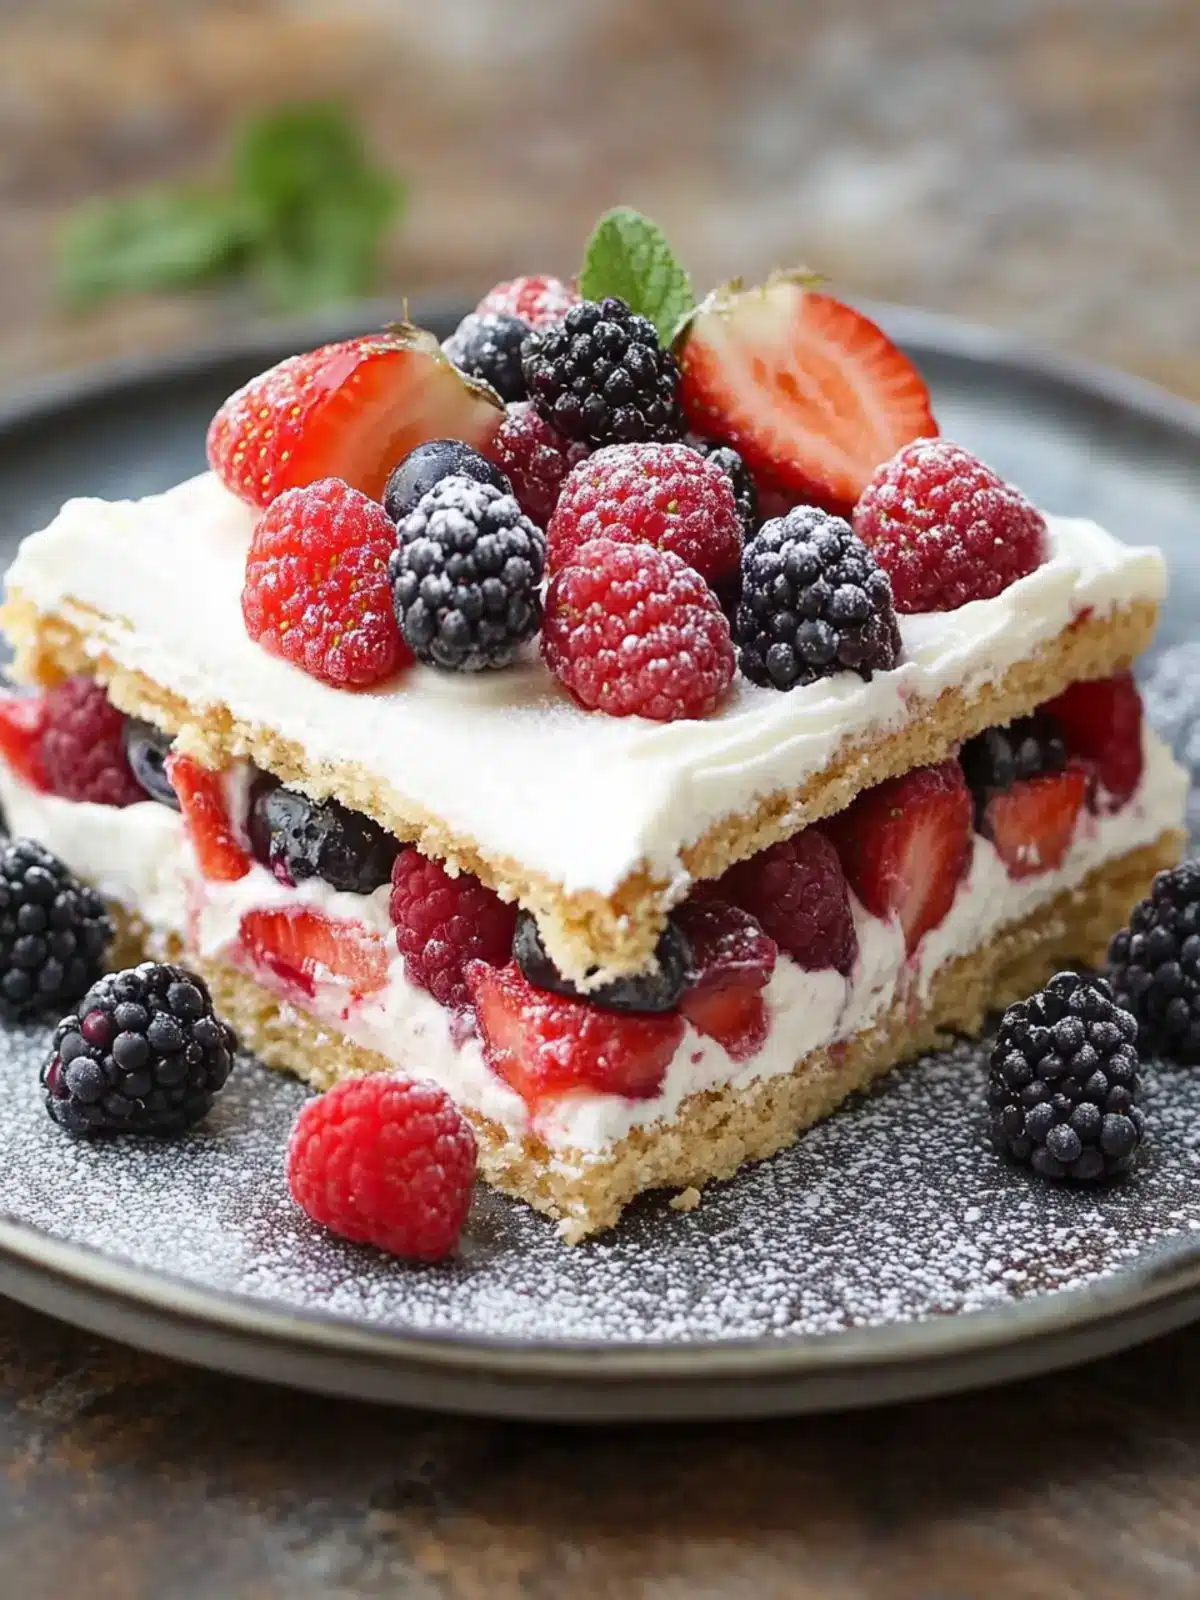
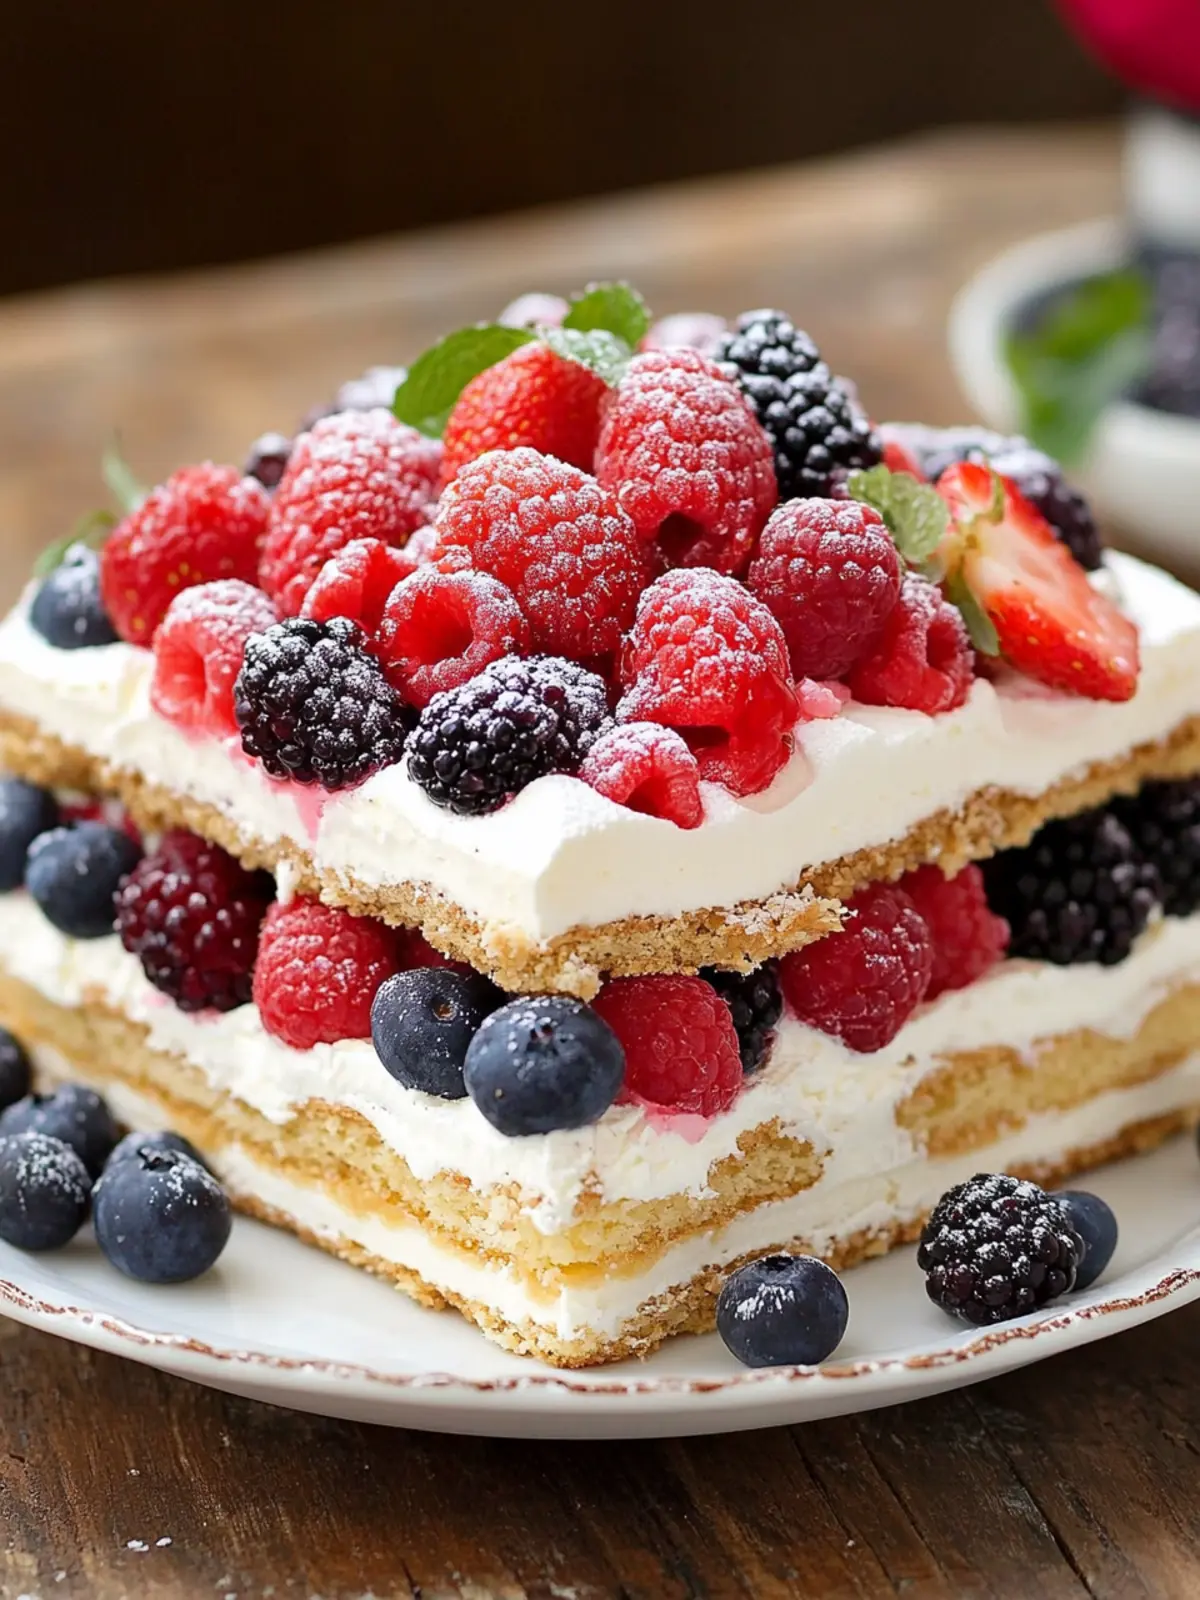
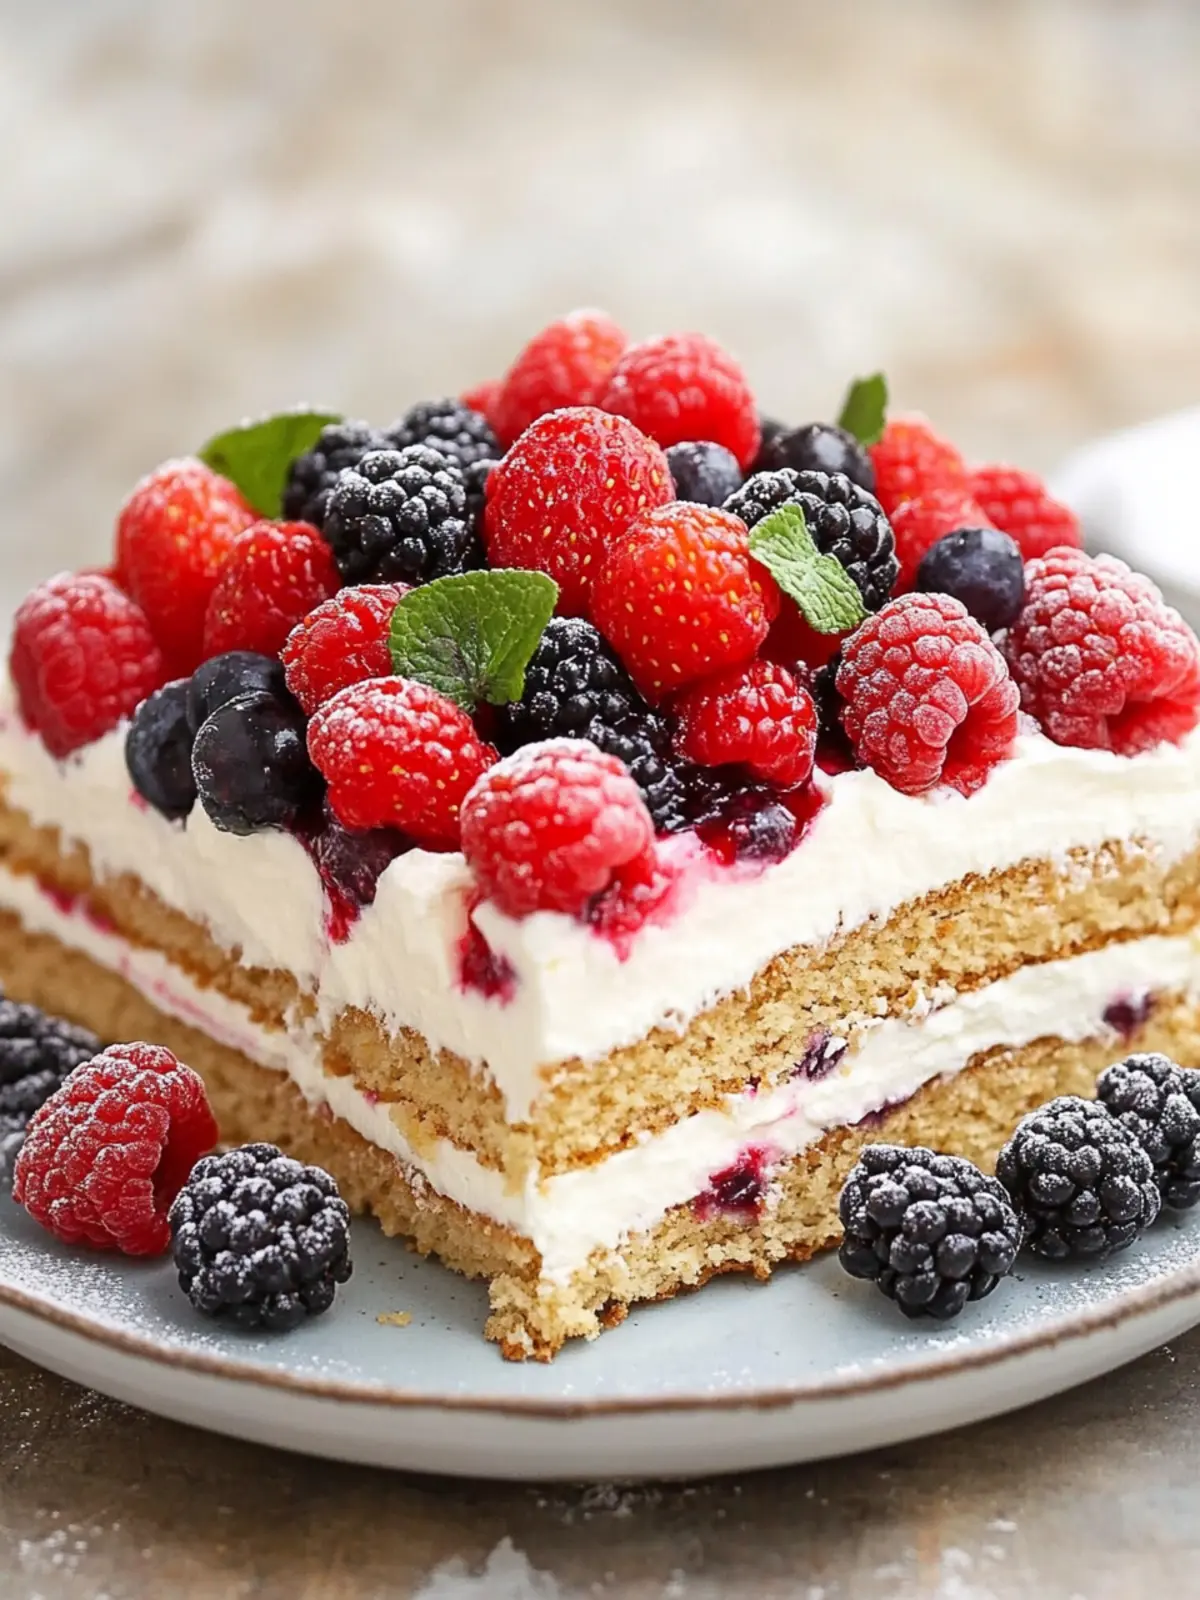
When the sun blazes and the temperatures soar, there’s nothing quite like a refreshing treat to cool down. The No-Bake Berry Icebox Cake is my go-to summer dessert that perfectly captures the essence of the season. Imagine layers of creamy pudding harmonizing with vibrant, juicy berries, all nestled between crispy graham crackers. This easy-to-make delight is not only a feast for the eyes but also a crowd-pleaser at potlucks, BBQs, and picnics.
What I love the most about this recipe is its versatility; you can mix and match different berries to suit your palate or even swap out the graham crackers for gluten-free alternatives. With just a few simple ingredients and no baking required, you can whip up this cake in a flash. Trust me, it’s a light and satisfying way to indulge without the fuss. Let’s dive into this deliciously refreshing dessert that will definitely hit the sweet spot this summer!
Why is No-Bake Berry Icebox Cake a Must-Try?
Light and Refreshing: Perfect for hot days, this no-bake dessert keeps things cool while delivering decadent flavors.
Easy to Make: With no baking required, it’s a breeze to whip up, making it ideal for busy schedules.
Customizable: Switch up the berries or use gluten-free crackers to make it your own.
Crowd-Pleaser: Whether at a BBQ or family gathering, this cake is guaranteed to impress and delight guests.
Quick Chill Time: Just 30 minutes in the fridge is all it takes to set those delicious layers!
Elevate your summer gatherings effortlessly with this delightful treat, and don’t forget to check out my tips on how to make it ahead of time for even more convenience!
No-Bake Berry Icebox Cake Ingredients
For the Cake Layers
• Fresh Berries – Strawberries, blackberries, blueberries, or raspberries work beautifully; mix and match based on what’s in season for the best flavor.
• Graham Crackers – Provides a crispy base; you can easily substitute with gluten-free crackers if needed.
For the Creamy Filling
• Cream Cheese – The star of the filling, it adds richness and creaminess; remember to soften it for smooth mixing.
• Milk – Use your favorite type of milk to help create a silky pudding mixture; thicker alternatives yield even better results.
• Instant French Vanilla Pudding Mix – This ensures sweetness and stability in layers; feel free to switch to homemade vanilla pudding if you prefer.
• Whipped Topping – For that light, airy texture in both filling and topping; letting it reach room temperature helps with incorporation.
This No-Bake Berry Icebox Cake is a delightful dessert that you’ll want to serve at every gathering!
How to Make No-Bake Berry Icebox Cake
-
Prepare Baking Dish: Start by lining a 7x10x3 or 9×13 inch baking dish with a layer of graham crackers, creating a sturdy foundation for your cake.
-
Mix Pudding Layer: In a mixing bowl, combine softened cream cheese, milk, and the instant pudding mix. Whisk until the mixture is smooth and creamy, about 2-3 minutes.
-
Incorporate Whipped Topping: Gently fold in the room temperature whipped topping until just combined. This should take care not to overmix; you want it light and airy.
-
Layer Cake: Spread half of the pudding mixture evenly over the graham crackers, then add half of the diced strawberries on top. Lay down another layer of graham crackers for support.
-
Repeat Layering: Spread the remaining pudding mixture over the second layer of graham crackers. Top this with diced blackberries, then finish with a final layer of graham crackers.
-
Add Topping: Gently spread the remaining whipped topping over the top layer, and garnish with additional fresh berries for an added splash of color and flavor.
-
Chill: Refrigerate the cake for at least 30 minutes before serving to allow those delicious layers to set nicely.
Optional: Serve chilled slices with fresh mint leaves for a refreshing touch!
Exact quantities are listed in the recipe card below.
Make Ahead Options
These No-Bake Berry Icebox Cakes are perfect for meal prep enthusiasts looking to save time during busy summer days! You can prepare the entire cake up to 24 hours in advance, allowing the flavors to meld beautifully. To make ahead, assemble the layers as instructed, then cover tightly with plastic wrap to prevent any air from getting in, ensuring it stays fresh and delicious. When you’re ready to serve, simply remove it from the fridge, add extra fresh berries on top for a garnish, and slice. By preparing this delightful dessert in advance, you’ll have a stress-free treat that’s just as refreshing and indulgent when it’s time to eat!
No-Bake Berry Icebox Cake Variations
Customize your No-Bake Berry Icebox Cake with these delightful twists that will tantalize your taste buds.
- Citrus Burst: Add a layer of lemon or orange zest to the creamy filling for a refreshing zing.
- Tropical Vibes: Swap out berries for diced mango and pineapple for a delightful island flavor.
- Nutty Crunch: Sprinkle crushed nuts, like almonds or pecans, between layers for added texture and crunch.
- Chocolate Lovers: Use chocolate pudding mix instead of vanilla for a rich, chocolaty flavor that pairs well with berries.
- Savory Twist: Add a dash of sea salt to the cream cheese filling for a unique sweet-and-salty experience.
- Herbal Infusion: Try adding finely chopped mint or basil leaves to the berry layers for an unexpected herbal note.
- Sugar-Free Option: Use sugar-free pudding mix and whipped topping to create a lighter version without sacrificing flavor.
- Spicy Kick: Incorporate a pinch of cayenne pepper into the filling for subtle warmth that enhances the sweetness.
Explore these variations to make your icebox cake uniquely yours each time you prepare it!
Expert Tips for No-Bake Berry Icebox Cake
- Soften Cream Cheese: Make sure the cream cheese is at room temperature for easy mixing and a smooth texture, avoiding lumps in the filling.
- Gently Fold: When incorporating whipped topping, do not overmix. A few visible streaks will maintain that light and fluffy texture in the No-Bake Berry Icebox Cake.
- Chill Time: For optimal flavor and texture, assemble your cake a few hours before serving, allowing it to chill well for the best results.
- Layering Technique: Ensure each layer is evenly distributed and not too thick to prevent them from toppling over when sliced. Consistency is key!
- Berry Freshness: Use ripe, fresh berries when in season for enhanced flavor; frozen berries can lead to excess moisture in the cake.
Storage Tips for No-Bake Berry Icebox Cake
Room Temperature: It’s best to avoid leaving the No-Bake Berry Icebox Cake at room temperature for more than 2 hours to maintain its freshness and prevent spoilage.
Fridge: Store the cake in an airtight container in the refrigerator for up to 3 days. This ensures it stays cool and the flavors meld beautifully.
Freezer: If you’d like to keep it longer, you can freeze individual slices wrapped tightly in plastic wrap for up to 1 month. Thaw in the refrigerator before serving.
Reheating: There’s no need to reheat this dessert; simply enjoy it chilled for the best taste and texture.
What to Serve with No-Bake Berry Icebox Cake?
When the sun shines and you’re craving something sweet, pairing the right sides can elevate your No-Bake Berry Icebox Cake into a complete feast.
- Creamy Coleslaw: A crunchy, tangy coleslaw nicely balances the sweetness of the cake, making for a light and refreshing meal.
- Grilled Chicken Skewers: Juicy, herb-marinated chicken adds a savory element, crafting a beautiful contrast with the dessert’s sweetness. Imagine enjoying a slice of cake after a flavorful bite of grilled chicken!
- Fresh Fruit Salad: A medley of seasonal fruits highlights the dish’s berry accents while adding vibrant colors and flavors, creating a joyful experience.
- Lemonade or Iced Tea: Refreshing beverages like these offer a crisp, cooling effect, perfectly complementing the lightness of the cake on warm days.
- Chilled Cucumber Soup: This chilled soup is silky and refreshing, providing a light option that won’t overshadow the cake but enhances the overall meal experience.
- Minty Basil Spritzers: A delightful drink mixed with fresh herbs adds an aromatic kick that pairs beautifully with the sweet layers of the dessert. Each sip will invigorate your taste buds!
- Chocolate Dipped Strawberries: For an indulgent treat, these sweet delights mirror the berry theme, offering a decadent bite that’s still refreshing.
- Cheese Platter: A selection of mild cheeses with crackers provides a delightful contrast and a savory touch that complements the sweet and creamy elements of the cake.
- Zucchini Bread: A moist and spiced bread option adds warmth and comfort, making for a satisfying pairing with the chilled dessert and rounding out your gathering.
- Vanilla Ice Cream: A scoop of creamy vanilla ice cream served alongside the cake adds an indulgent touch, creating a wonderful harmony of flavors and textures.
No-Bake Berry Icebox Cake Recipe FAQs
What kind of berries should I use?
You can use a delightful mix of fresh berries, like strawberries, blackberries, blueberries, or raspberries. I often choose what’s in season, as they’ll be the sweetest and most flavorful. Feel free to try out other berries, too, just ensure they’re ripe and juicy for the best results!
How should I store leftovers?
For optimal freshness, store your No-Bake Berry Icebox Cake in an airtight container in the refrigerator. It will stay delicious for up to 3 days. Just remember to keep it covered to prevent it from absorbing any fridge odors.
Can I freeze the No-Bake Berry Icebox Cake?
Absolutely! You can freeze individual slices of the cake, wrapped tightly in plastic wrap or aluminum foil, for up to 1 month. When you’re ready to enjoy, simply transfer the slices to the refrigerator and let them thaw overnight. This method will help maintain the texture and flavor, but do note that the whipped topping may lose some of its fluffiness.
What if my pudding mixture is lumpy?
To prevent a lumpy pudding mixture, ensure your cream cheese is softened to room temperature before mixing. When combining the ingredients, whisk vigorously for 2-3 minutes until smooth. If lumps persist, try using an electric mixer to help achieve a silky texture. Don’t forget to gently fold in the whipped topping to keep it airy and light!
Can I make this cake in advance?
Yes, making your No-Bake Berry Icebox Cake a day in advance is a great idea! In fact, allowing it to chill overnight enhances the flavors as they meld together beautifully. Just cover it well with plastic wrap or foil to keep it fresh while it rests in the fridge.
Are there any dietary considerations I need to keep in mind?
Absolutely! This No-Bake Berry Icebox Cake is gluten-free if you use gluten-free graham crackers. For a dairy-free option, simply swap the cream cheese and whipped topping for plant-based alternatives. Likewise, you can use a dairy-free milk to suit your dietary needs. Always check for allergies when selecting your berries and other ingredients to ensure everyone can enjoy this delightful treat!

No-Bake Berry Icebox Cake: Chill Out with This Easy Delight
Ingredients
Equipment
Method
- Start by lining a 7x10x3 or 9x13 inch baking dish with a layer of graham crackers.
- In a mixing bowl, combine softened cream cheese, milk, and the instant pudding mix. Whisk until smooth and creamy, about 2-3 minutes.
- Gently fold in the room temperature whipped topping until just combined.
- Spread half of the pudding mixture evenly over the graham crackers, then add half of the diced strawberries on top. Lay down another layer of graham crackers.
- Spread the remaining pudding mixture over the second layer of graham crackers. Top this with diced blackberries, then finish with a final layer of graham crackers.
- Gently spread the remaining whipped topping over the top layer, and garnish with additional fresh berries.
- Refrigerate the cake for at least 30 minutes before serving.


