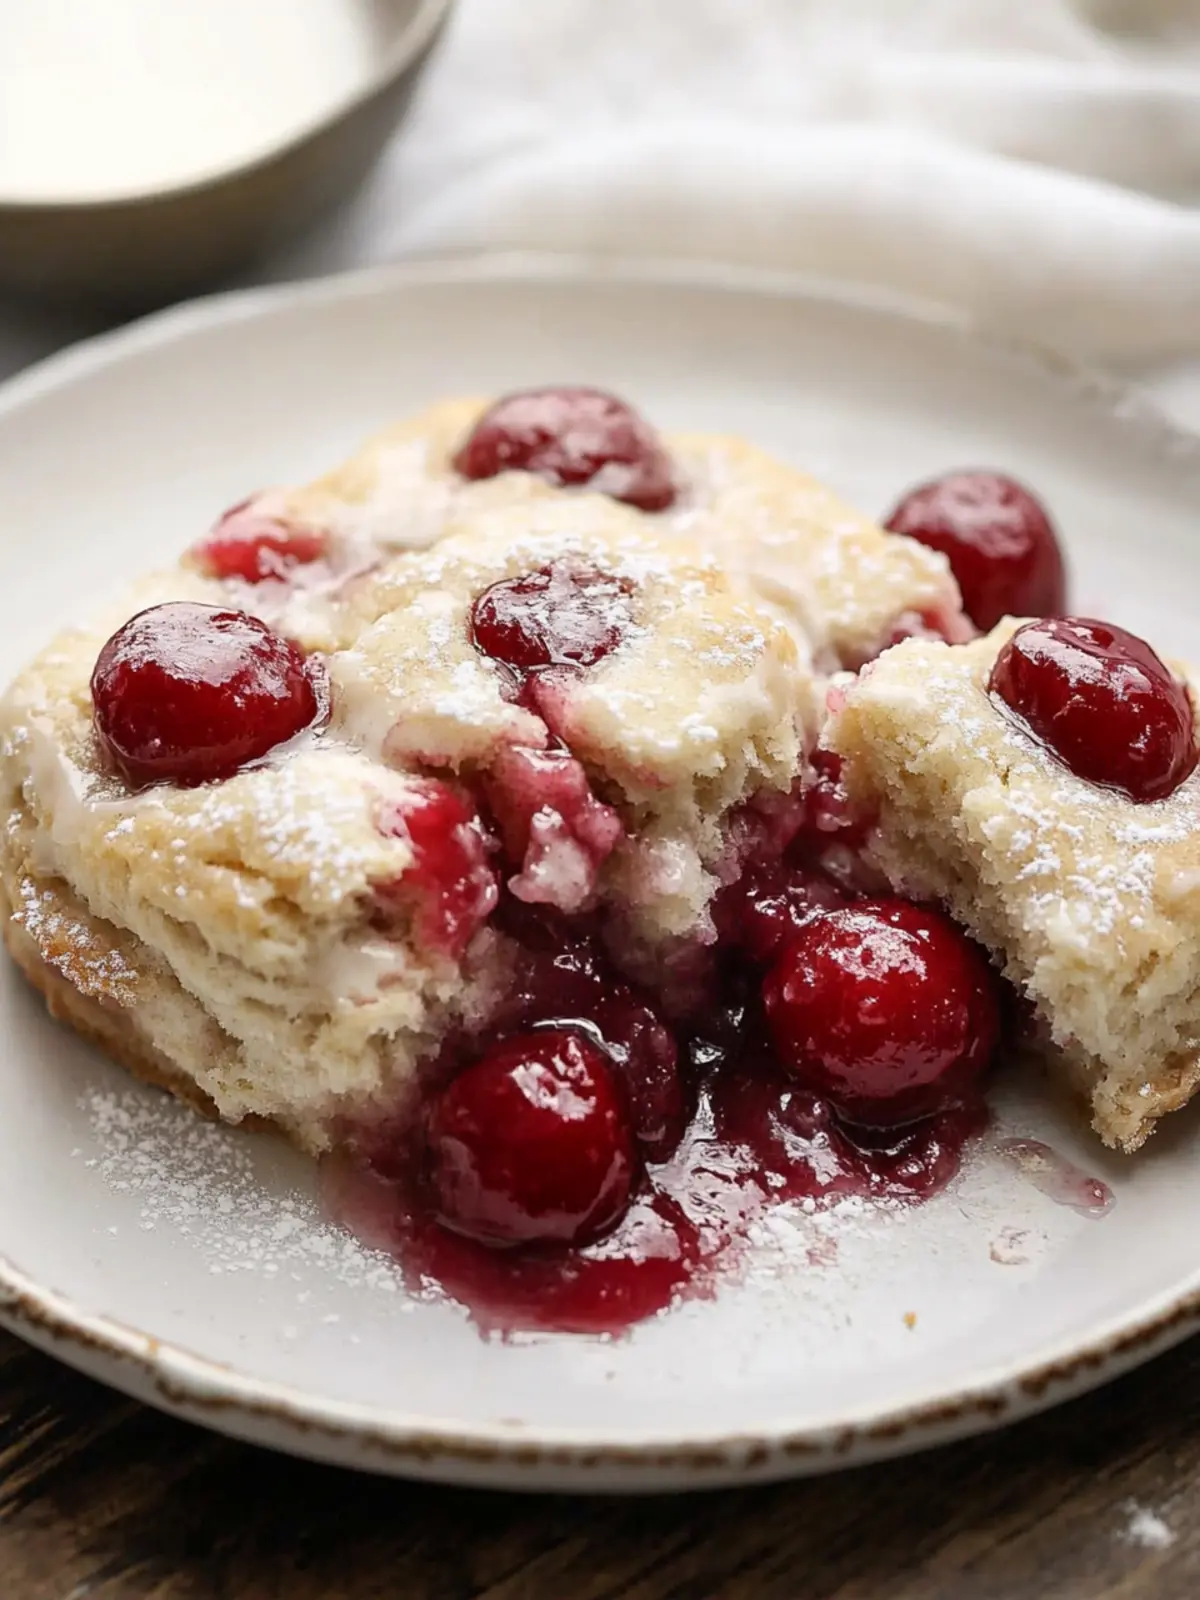
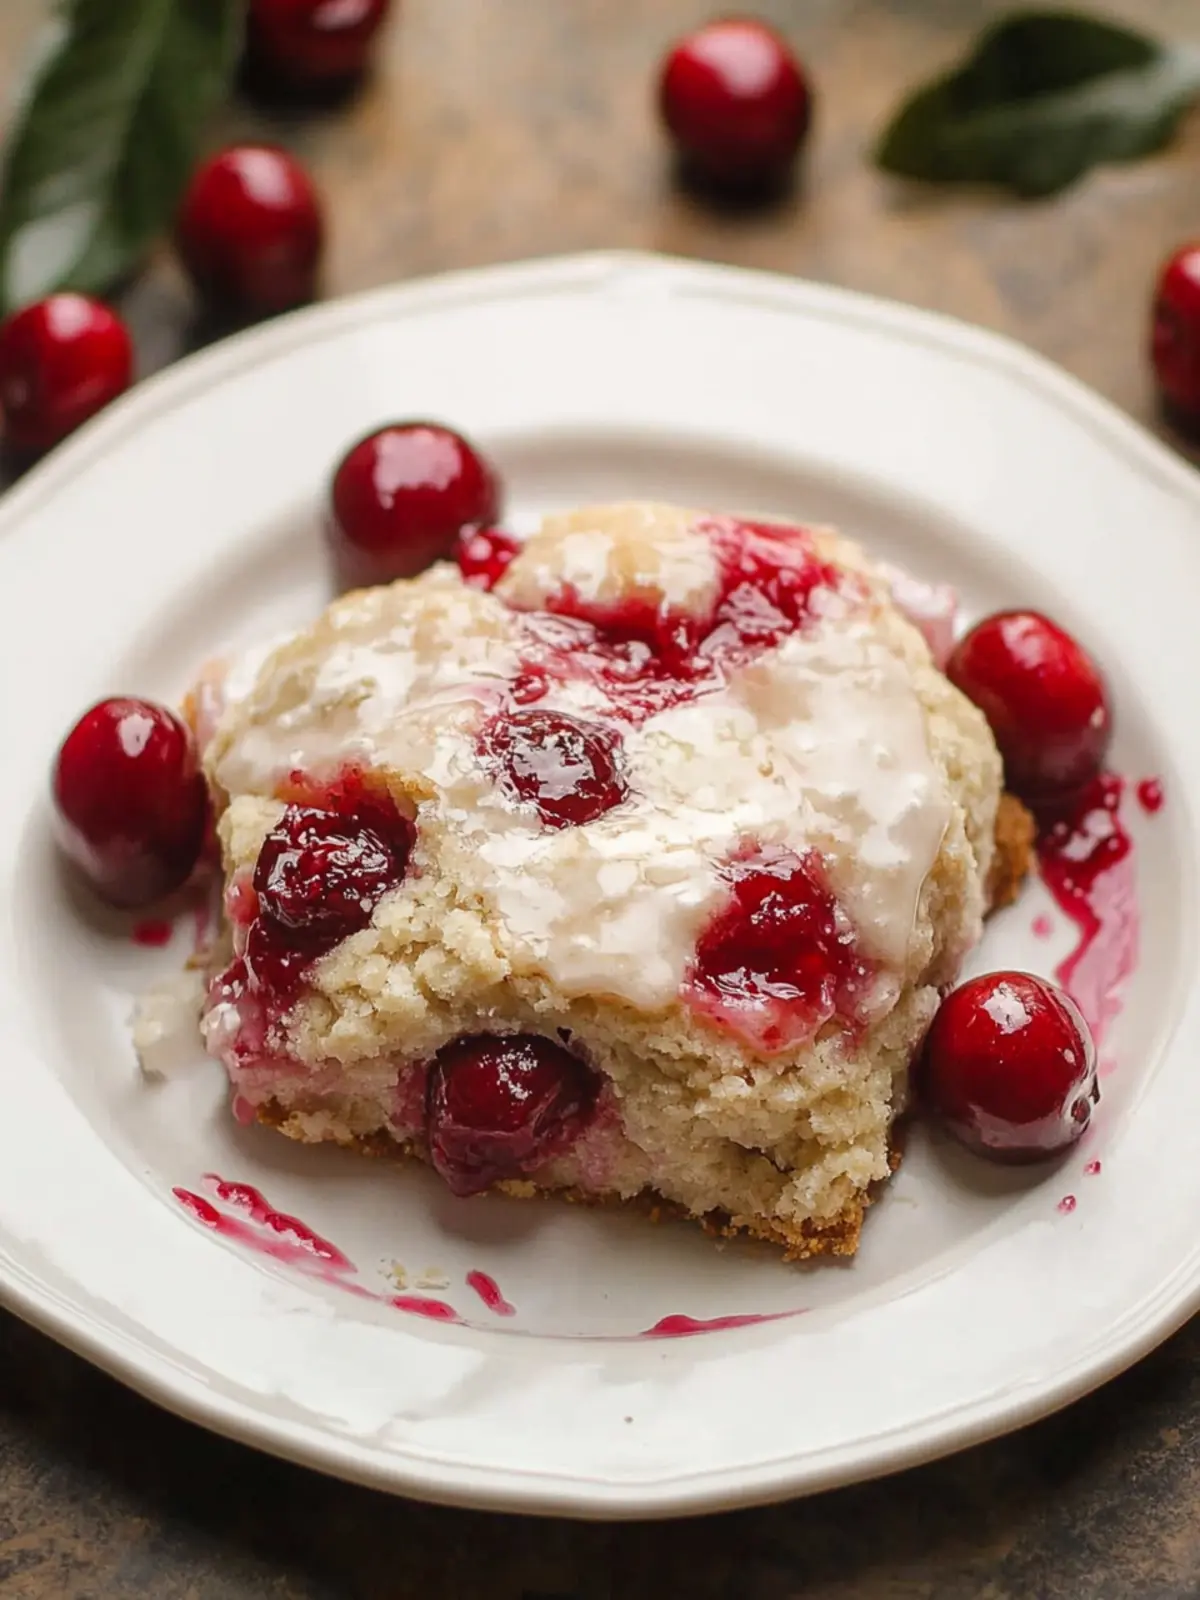
When the aroma of fresh cherries mingled with buttery goodness wafted through my kitchen, I knew I’d stumbled upon something special. Introducing Cherry Pie Biscuits – a sweet fusion of flaky, tender biscuits and luscious cherry filling that’s sure to brighten any ordinary day. Whether you’re looking for a warm dessert to share during family gatherings or a delightful treat for a cozy evening at home, these gluten-free gems are a game-changer.
What I adore about this recipe is its simplicity. It invites everyone, little hands and seasoned chefs alike, to partake in the joy of baking. In just a few easy steps, you can create a heavenly dessert that captures the essence of a classic cherry pie but with the delightful twist of biscuit texture. Get ready to impress friends and family while keeping things hassle-free; let’s dive into this scrumptious adventure!
Why are Cherry Pie Biscuits a must-try?
Simplicity: These biscuits require minimal ingredients and effort, perfect for novice bakers.
Family-Friendly: Kids love getting involved, making this an enjoyable cooking project for everyone.
Gooey Goodness: Each bite features a luscious cherry filling that brings a smile to your face.
Versatile: While delicious as is, feel free to swap in other fruit fillings like blueberries for variety.
Quick Baking: Ready in just 20 minutes, these treats are a fantastic last-minute dessert option.
Crowd-Pleaser: Whether at parties or cozy dinners, they’re sure to impress guests of all ages!
Cherry Pie Biscuits Ingredients
For the Biscuit Dough
• Gluten-Free Flour – Provides the necessary structure for these fluffy biscuits; can substitute with all-purpose flour if not gluten-free.
• Butter – Cold butter is key for achieving that rich, flaky texture; don’t forget to keep it chilled!
• Kosher Salt – Enhances the flavor beautifully; no need for substitutions here.
• Sugar – A touch of sweetness that can be adjusted to your preference.
• Ground Cinnamon – Adds warmth and balance; feel free to omit for a more neutral flavor.
• Baking Soda – This helps your biscuits rise; make sure it’s fresh for the best results.
• Baking Powder – Works alongside baking soda for a perfect lift; check the expiration date prior to use.
• Buttermilk – Moistens the dough and reacts with baking soda; for a dairy-free substitute, mix oat milk with vinegar.
For the Cherry Filling
• Cherry Pie Filling – This brings that signature cherry goodness; fresh cherries work great too, just adjust the sugar as needed.
For the Glaze
• Milk – A drizzling base for the glaze that adds shine; can use any kind you prefer.
• Powdered Sugar – Sweetens the glaze and complements the biscuits beautifully; whisk until smooth.
Indulge in the delightful world of Cherry Pie Biscuits with these simple yet essential ingredients!
How to Make Cherry Pie Biscuits
-
Preheat Oven: Start by heating your oven to a toasty 450°F (232°C) so it’s ready for baking your cherry delights!
-
Prepare Baking Dish: Brush a 9” cast iron skillet or a 7×10 baking dish with cold, creamy butter, ensuring it’s well-coated to prevent sticking.
-
Make Buttermilk: If you’re opting for a dairy-free version, mix oat milk with a splash of vinegar and let it sit for a few minutes to create homemade buttermilk.
-
Mix Dry Ingredients: In a cozy mixing bowl, combine gluten-free flour, kosher salt, sugar, ground cinnamon, baking soda, and baking powder until well-mixed.
-
Cut in Butter: Add the cold butter to your flour mixture, using a pastry cutter to blend until it looks like pea-sized crumbs. This step ensures a flaky texture!
-
Add Buttermilk: Pour in the buttermilk and stir gently until just combined, being careful not to overmix and lose that tender biscuit texture.
-
Chill Dough: Place the dough into the freezer for about 20 minutes. This helps the biscuits maintain their shape while baking!
-
Scoop Dough: Using a large ice cream scoop, portion the dough into your prepared baking dish, then generously top each scoop with cherry pie filling.
-
Bake: Pop your dish into the preheated oven and bake for about 20 minutes, or until the biscuits are beautifully golden brown on top.
-
Prepare Glaze: In a small bowl, mix together milk with powdered sugar until smooth, and then drizzle this sweet glaze over the warm biscuits before serving.
Optional: Pair with a scoop of vanilla ice cream for an indulgent treat!
Exact quantities are listed in the recipe card below.
Make Ahead Options
Cherry Pie Biscuits are a fantastic choice for meal prep, allowing you to savor their deliciousness with minimal fuss! You can prepare the biscuit dough and refrigerate it for up to 24 hours before baking, just remember to keep it tightly wrapped to maintain freshness. Additionally, you can scoop the dough into your baking dish and top it with cherry pie filling, then cover and refrigerate for up to 3 days. When you’re ready to bake, simply preheat your oven, pop the dish in, and bake as directed for delightful, freshly-baked biscuits that taste just as wonderful as they do made from scratch! This way, you enjoy the scrumptiousness of Cherry Pie Biscuits while saving precious time during busy weeknights!
Storage Tips for Cherry Pie Biscuits
Room Temperature: Store cooled biscuits in an airtight container at room temperature for up to 3 days to maintain freshness and softness.
Fridge: If you prefer, place the biscuits in the fridge for up to a week; reheat them in the oven for best results.
Freezer: Freeze unbaked biscuits by wrapping them tightly in plastic wrap and placing them in an airtight container for up to 1 month. Bake directly from frozen, adding a few extra minutes to the baking time.
Reheating: Reheat leftover baked biscuits in the oven at 350°F (175°C) for about 10 minutes to restore crispiness before enjoying your delicious Cherry Pie Biscuits again!
Tips for the Best Cherry Pie Biscuits
-
Cold Ingredients: Always use cold butter and buttermilk to achieve the flakiest biscuits. This step is crucial for that perfect texture.
-
Don’t Overmix: Be gentle when incorporating the buttermilk; overmixing can lead to tough biscuits. Stop as soon as the dough comes together.
-
Chill the Dough: Freezing the dough for 20 minutes is key in maintaining shape and ensuring a tender, airy biscuit. Don’t skip this step!
-
Taste Complements: For a touch more flavor, consider adjusting the sugar in your cherry filling based on the sweetness of the cherries used.
-
Check Leavening Agents: Ensure baking soda and baking powder are fresh to guarantee proper rising of your Cherry Pie Biscuits.
-
Serving Warm: These biscuits are best enjoyed warm from the oven. A drizzle of glaze adds a delightful finish and enhances the cherry flavor!
What to Serve with Cherry Pie Biscuits?
Imagine the joy of indulging in warm, cherry-filled delights alongside delightful accompaniments that take your dessert experience to the next level.
- Vanilla Ice Cream: The creamy richness balances the tart cherry filling perfectly, creating a classic and satisfying combination.
- Whipped Cream: A dollop of fluffy whipped cream adds airiness and a touch of sweetness, enhancing each bite of the biscuits without overpowering their flavor.
- Chocolate Sauce: Drizzling chocolate sauce over warm biscuits creates a decadent twist, elevating your dessert with a touch of indulgence.
- Coffee: A steaming cup of coffee cuts through the sweetness and complements the cherry’s tartness, creating a cozy afternoon treat.
- Mint Leaves: Fresh mint adds a vibrant pop of color and freshness, making each bite feel even more refreshing and sunny.
- Almond Milk: A chilled glass of almond milk serves as a nutty complement to these pastries, enhancing the biscuit’s flavors beautifully.
- Fresh Berries: A side of mixed berries introduces a burst of freshness and texture, perfectly balancing the sweetness of the cherry filling.
- Cocoa Dusted Nuts: A handful of cocoa-dusted nuts provides a crunchy contrast, adding an extra layer of flavor to the soft, tender biscuits.
Cherry Pie Biscuits Variations
Feel free to make these delicious biscuits your own with these enticing twists!
- Dairy-Free: Substitute buttermilk with oat milk mixed with lemon juice for a creamy, plant-based alternative.
- Nutty Delight: Add chopped walnuts or sliced almonds into the dough for an extra layer of crunch and flavor. It complements the sweetness beautifully!
- Berry Bash: Swap out cherry pie filling for blueberry, raspberry, or peach filling to create a colorful medley of flavors that everyone will love.
- Sweet Spice: Include a dash of nutmeg or ginger along with the cinnamon to enhance the aromatic experience of each biscuit bite.
- Chocolate Chip: Fold in mini chocolate chips for a decadent twist that will make dessert lovers swoon. It provides a delightful contrast to the cherry filling!
- Zesty Lemon: Add a touch of lemon zest to the biscuit dough for a refreshing citrus kick that brightens the overall taste.
- Gluten-Free Flour Mix: If you’re out of gluten-free flour, a homemade blend of almond flour and coconut flour can create a different but tasty texture.
- Savory Option: For a savory twist, use cheese and herbs instead of cherry filling to transform these biscuits into a delightful side for dinner.
Let your creativity shine and enjoy making these Cherry Pie Biscuits uniquely yours!
Cherry Pie Biscuits Recipe FAQs
What type of cherries should I use for the filling?
Absolutely! You can use either store-bought cherry pie filling or fresh cherries. If opting for fresh cherries, make sure they are ripe—look for firm, vibrant cherries without dark spots. For every cup of fresh cherries, consider adding about 1/4 to 1/2 cup of sugar, depending on their sweetness, to balance the flavors nicely.
How should I store leftover Cherry Pie Biscuits?
To keep your biscuits fresh, store them in an airtight container at room temperature for up to 3 days. If you prefer a longer storage option, you can place them in the fridge for up to a week and reheat in the oven before serving to regain their delightful texture.
Can I freeze unbaked Cherry Pie Biscuits?
Very much so! To freeze unbaked biscuits, simply scoop the dough onto a baking sheet lined with parchment paper, ensuring they are spaced apart. Once frozen solid, wrap each biscuit tightly in plastic wrap or place them in an airtight container for up to a month. When you’re ready to bake, you can bake them directly from the freezer—just add a few extra minutes to the baking time!
What if my biscuits come out too tough?
If your biscuits turn out tough, it’s likely due to overmixing the dough after adding the buttermilk. To avoid this, mix until just combined—a few lumps are okay! Additionally, remember to keep your ingredients cold and chill the dough, as this helps maintain tenderness.
Are these Cherry Pie Biscuits safe for pets?
No, it’s important to note that these biscuits contain sugar and butter, which aren’t ideal for pets. Always keep baked goods containing these ingredients away from your furry friends to ensure their safety.
What if I have gluten allergies?
No worries! This recipe is specifically designed to be gluten-free by using gluten-free flour. Make sure to double-check that your cherry pie filling is also gluten-free, as some brands may contain gluten as a stabilizer. Enjoy your scrumptious Cherry Pie Biscuits without worry!

Cherry Pie Biscuits: Easy, Gluten-Free Treats for Everyone
Ingredients
Equipment
Method
- Preheat your oven to 450°F (232°C).
- Brush a 9” cast iron skillet or a 7x10 baking dish with cold butter to prevent sticking.
- For a dairy-free version, mix oat milk with a splash of vinegar and let it sit to create buttermilk.
- In a mixing bowl, combine gluten-free flour, salt, sugar, cinnamon, baking soda, and baking powder.
- Cut in cold butter until the mixture resembles pea-sized crumbs.
- Add buttermilk and stir gently until just combined; do not overmix.
- Chill the dough in the freezer for about 20 minutes.
- Scoop dough into the prepared baking dish, topping each with cherry pie filling.
- Bake for about 20 minutes or until golden brown.
- Mix milk and powdered sugar for glaze, drizzle over warm biscuits before serving.


