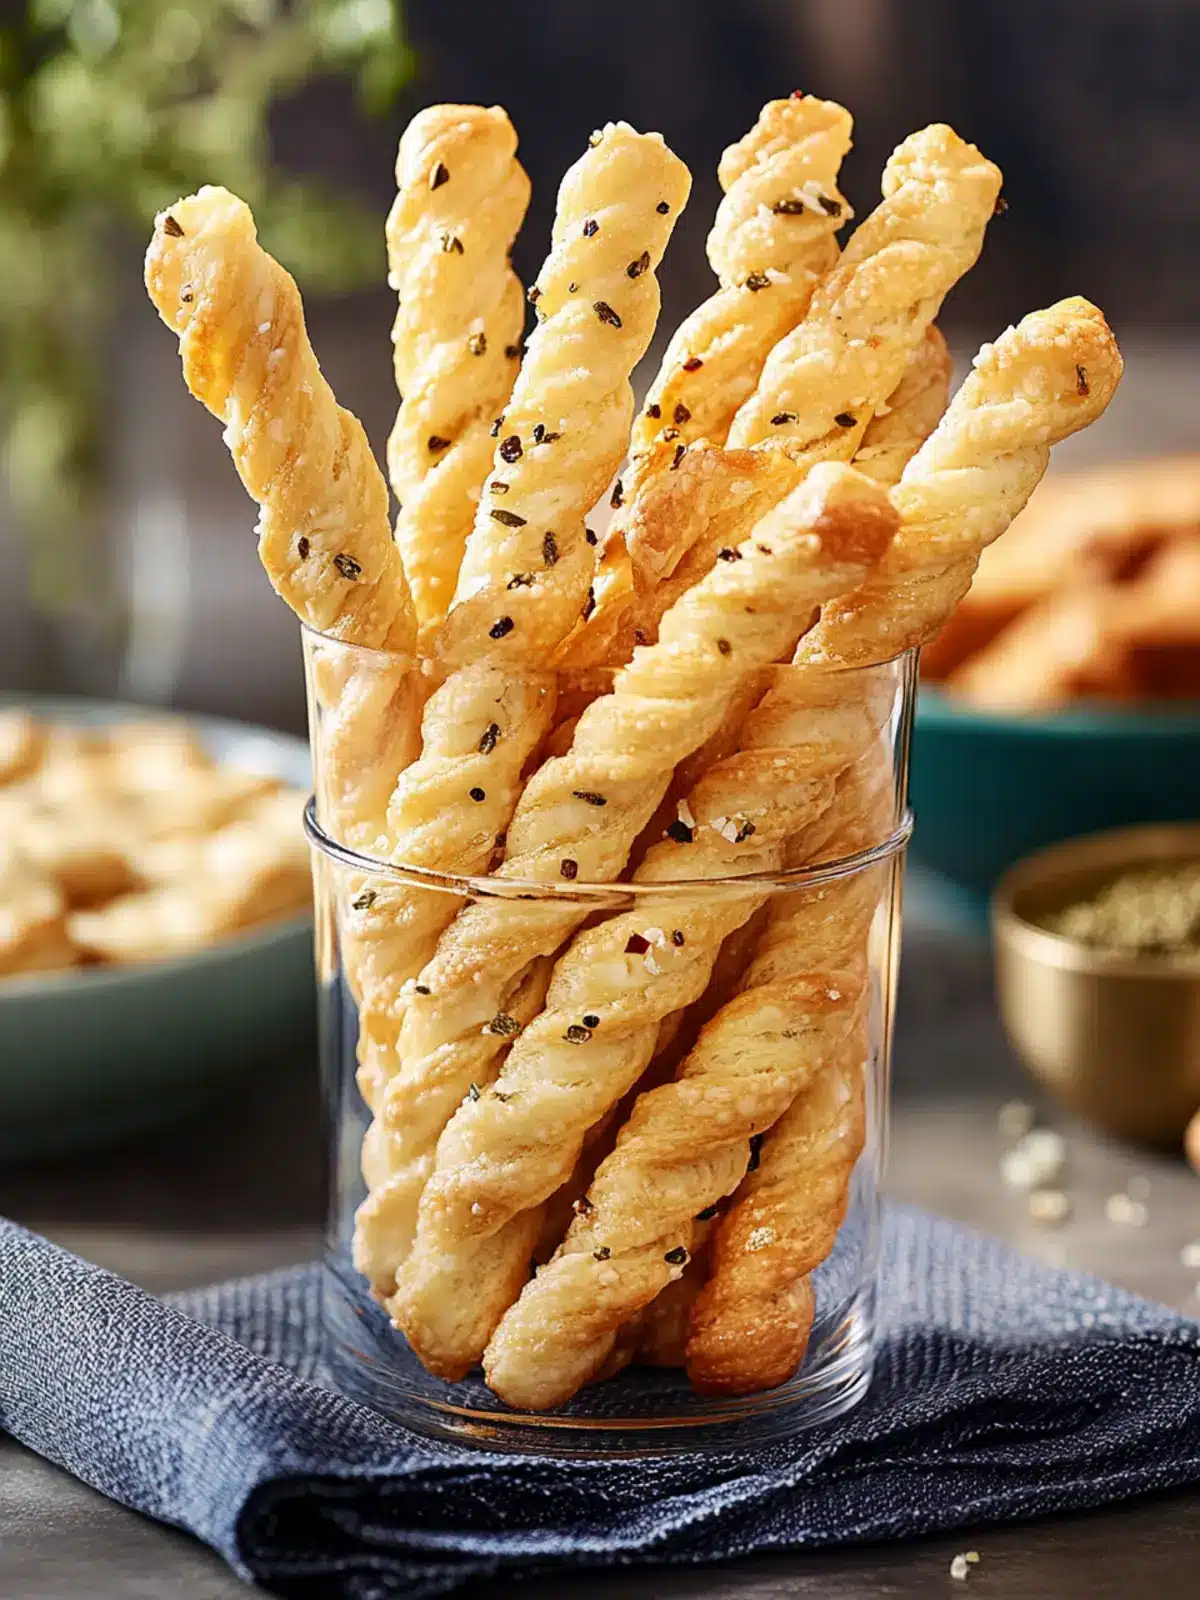
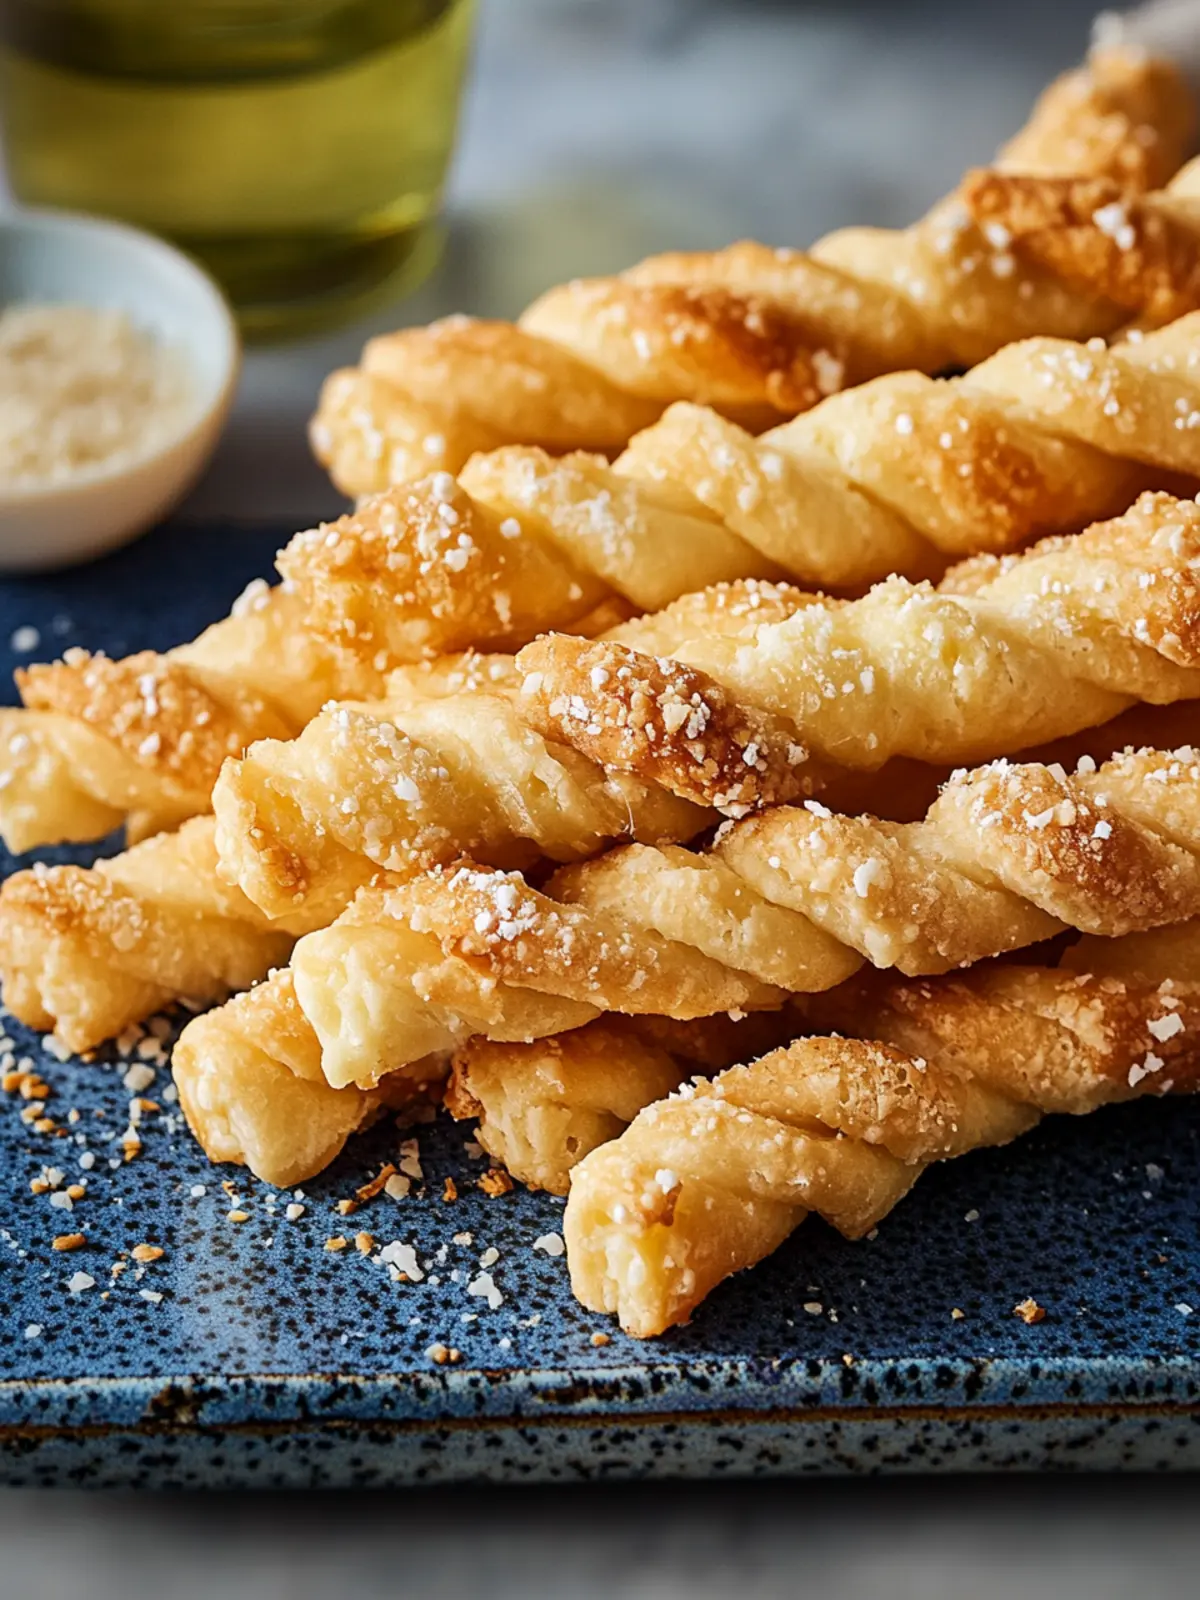
There’s something wonderfully satisfying about the crunch of homemade cheese straws that turns an ordinary snack into an extraordinary one. Picture this: the moment you take your first bite, the golden, flaky puff pastry cracks open to reveal a savory explosion of rich cheese flavor, with just a hint of warmth from cayenne pepper. It’s irresistible, isn’t it?
Whether you’re hosting a festive gathering or simply looking for a delicious way to elevate your everyday snack routine, these crispy puff pastry cheese straws are the highly versatile appetizers you’ve been searching for. With minimal prep and maximum flavor, they’ll soon become your go-to treat, ready to impress guests or bring joy to your family—and they can be customized to suit your taste with different cheeses and spices. Join me as we whip up these delightful cheesy delights that promise to make every occasion a little more special!
Why are Cheese Straws a Must-Have?
Unmatched Flavor: Each bite offers a robust, cheesy explosion that’s simply addictive.
Quick and Easy: With just a few ingredients, you’ll whip these up in no time, perfect for unexpected guests!
Versatile Fun: Customize with your favorite cheeses and spices for a unique twist every time.
Party Pleaser: These crispy straws will disappear fast, making you the star of any gathering.
Make-Ahead Convenience: Prepare and freeze unbaked straws, ensuring you have delightful treats ready when needed.
Cheese Straw Ingredients
• For a flawless finish, gather these essentials for your delicious cheese straws.
For the Cheese Mixture
- Extra-Sharp White Cheddar – Provides a strong flavor and creaminess; substitute with sharp or mild cheddar for varied tastes.
- Grated Parmesan Cheese – Adds a nutty flavor and enhances crunch; try Pecorino Romano for a sharper twist.
- Cayenne Pepper – Imparts a delightful heat; adjust to your liking or omit for a milder bite.
For the Pastry
- Frozen Puff Pastry (preferably all-butter) – Forms the flaky base; homemade pastry can be a fun substitute if you’re feeling adventurous.
- Large Eggs – Binds ingredients and aids in browning; no substitutes needed for this crucial element.
- All-Purpose Flour – Optional for dusting the work surface; prevents sticking for easy handling.
For the Topping
- Black and White Sesame Seeds – Adds visual appeal and texture; swap for poppy seeds for a different look.
- Flaky Salt (optional) – Enhances flavor; feel free to omit if keeping sodium in check.
Dive into this simple yet incredibly tasty adventure and get ready to bake your irresistible cheese straws!
How to Make Cheese Straws
-
Prep pastry: On a floured surface, gently roll out the thawed puff pastry to your desired thickness, usually about 1/8 inch. This ensures that your cheese straws will maintain their delicate, flaky texture.
-
Mix cheese: In a bowl, combine the shredded extra-sharp white cheddar, grated Parmesan cheese, and a pinch of cayenne pepper. Stir until well mixed, creating a rich cheese blend that’ll pack a flavorful punch.
-
Cut strips: Using a sharp knife or pizza cutter, cut the pastry into strips, about 1 inch wide. These will form your straws, so keep the edges as neat as possible for a beautiful presentation.
-
Sprinkle toppings: Generously sprinkle the cheese mixture over each pastry strip, followed by a few sesame seeds for added flair. Twist each strip into spiral shapes to make them visually appealing and to allow the cheese to melt evenly.
-
Egg wash: Brush each twisted straw lightly with a beaten egg. This will create that gorgeous golden-brown hue we all love in freshly baked treats.
-
Bake: Place the cheese straws on a baking sheet and bake in a preheated oven at 400°F for about 25-30 minutes, or until they’re golden brown and crispy. Keep an eye on them toward the end for the perfect crunch!
Optional: Serve warm with your favorite dips for an impressive appetizer spread.
Exact quantities are listed in the recipe card below.
Make Ahead Options
These irresistible cheese straws are perfect for busy home cooks who want to save time without sacrificing flavor! You can prepare the cheese mixture and cut the pastry strips up to 24 hours in advance; simply store them separately in the refrigerator. When you’re ready to serve, twist the strips, sprinkle with the cheese and sesame seeds, and brush with the egg wash before baking. For longer storage, unbaked cheese straws can be frozen for up to a month. To maintain their crispiness, bake from frozen without thawing, adding an extra couple of minutes to the baking time. You’ll have fresh, golden cheese straws ready to impress your guests with minimal effort!
Cheese Straws Variations
Customize your cheese straws for an exciting twist with these flavorful ideas!
- Cheese Swap: Try using creamy gouda or mozzarella for a mild, sweet flavor that complements the crunch beautifully.
- Herb Infusion: Mix dried herbs like rosemary or thyme into the cheese blend for a fragrant twist that elevates each bite.
- Spicy Kick: Add a dash of smoked paprika or crushed red pepper flakes for a smoky, spicy flavor that packs a punch.
- Nutty Delight: Incorporate finely chopped nuts, like walnuts or pecans, into the cheese mixture for added texture and richness.
- Sweet Treat: Replace cheese with chocolate chips and a sprinkle of sea salt for an indulgent, sweet version that surprises the palate!
- Seed Medley: Experiment with a mix of seeds like chia or flaxseeds alongside sesame for a nutty crunch and bonus nutritional value.
- Seasonal Flavors: During holidays, add a pinch of cinnamon or nutmeg for a unique, festive flair that’s perfect for special gatherings.
- Vegan Option: Use plant-based cheeses and a flax egg for a dairy-free alternative, bringing everyone to the table with joy.
Feel free to experiment and make these cheese straws your very own!
Storage Tips for Cheese Straws
- Room Temperature: Store baked cheese straws in an airtight container for up to 2 days to maintain their crunch and flavor.
- Fridge: Although not ideal, you can refrigerate baked cheese straws for up to 3 days; reheat in an oven to regain crispness before serving.
- Freezer: Unbaked cheese straws can be frozen for up to 1 month. Simply place them on a baking sheet until firm, then transfer to a freezer-safe bag. Thaw before baking for fresh flavor.
- Reheating: To reheat cheese straws, place them directly on a baking sheet in a preheated oven at 350°F for about 10 minutes for the best texture.
What to Serve with Puff Pastry Cheese Straws?
Creating a delightful spread alongside your cheese straws elevates any casual gathering into a memorable feast. Picture the combination of flavors and textures that will keep your guests returning for more!
-
Zesty Marinara Sauce: A warm, tangy dip that perfectly complements the richness of the cheese with its acidity, providing a delicious contrast.
-
Creamy Garlic Dip: Silky and smooth, this dip adds a creamy texture that enhances the savory notes of the cheese straws beautifully.
-
Charcuterie Board: Serve with an arrangement of cured meats, olives, and dried fruits. The diversity of flavors makes for a sophisticated pairing that will impress your guests.
-
Herbed Cream Cheese Spread: A generous spread of herbed cream cheese offers a fresh, herbal counterpoint, bringing brightness to the buttery pastry.
-
Crunchy Veggie Sticks: Crisp celery, carrots, and bell peppers add a refreshing crunch, making your appetizer table not only delicious but vibrant and colorful.
-
Light Sparkling Wine: Pair with a glass of bubbly to enhance the celebration; its effervescence elevates the entire experience and can cleanse the palate between bites.
-
Savory Cheese Platter: Include a variety of artisan cheeses for a rich bounty. The different cheese options offer guests a range of flavors while preserving that cherished cheesy experience.
Elevate your cheese straws with these delightful accompaniments, and watch as your gatherings become unforgettable occasions filled with joy and laughter!
Expert Tips for Perfect Cheese Straws
- Thawing Matters: Always allow the puff pastry to fully thaw before starting; this ensures it rolls out smoothly and maintains its flakiness.
- Spacing is Key: Make sure to leave space between each cheese straw on the baking sheet; this allows for even baking and prevents them from sticking together.
- Brush Generously: Apply a good egg wash to ensure your cheese straws have that beautiful golden color; it makes them visually enticing before your guests even take a bite.
- Taste Adjustments: Feel free to adjust the cayenne pepper according to your heat preference; it can be omitted entirely for a milder flavor.
- Serving Fresh: Serve the cheese straws immediately after baking for the best crispiness; they can lose their crunch if left out for too long.
Cheese Straws Recipe FAQs
What’s the best cheese to use for cheese straws?
Absolutely! While I recommend using extra-sharp white cheddar for its robust flavor, you can experiment with other cheeses like gouda or mozzarella for a different twist. Each cheese offers a unique texture and taste, so the more the merrier when it comes to trying new combinations!
How do I store leftover cheese straws?
To keep your baked cheese straws crispy, store them in an airtight container at room temperature for up to 2 days. If you need to keep them longer, refrigeration is possible for up to 3 days, but they may lose some of their crunch. I highly recommend reheating them in the oven at 350°F for about 10 minutes for the best results!
Can I freeze unbaked cheese straws?
Definitely! Freezing unbaked cheese straws is a great way to prepare for a gathering. Simply lay them out on a baking sheet until firm, then transfer to a freezer-safe bag for up to 1 month. When you’re ready to bake, just thaw them in the fridge overnight and then bake as directed for fresh, hot cheese straws.
What if my cheese straws aren’t crispy?
If your cheese straws turn out less crispy than desired, there are a few things to consider. First, make sure that you’ve spaced them out on the baking sheet to allow for proper airflow. Secondly, check that your oven is preheated correctly. If they need a little extra crunch, pop them back into a preheated oven at 350°F for 5-10 minutes to crisp up.
Are cheese straws suitable for vegetarian diets?
Yes, cheese straws are suitable for vegetarians, as they primarily use dairy products like cheese and eggs. However, if you’re accommodating specific dietary restrictions, make sure to choose suitable cheese brands that align with your guests’ preferences, especially if they have any allergens. For gluten-free options, use gluten-free puff pastry…it works surprisingly well!
How long does it take to make cheese straws from start to finish?
Making cheese straws is a breeze! From prepping your ingredients to baking, you can usually have them ready in about 45 minutes. This includes around 15-20 minutes for preparation and 25-30 minutes of baking. It’s perfect for those who want a delicious snack in a hurry, especially during gatherings!

Irresistible Cheese Straws: A Crunchy Delight for Gatherings
Ingredients
Equipment
Method
- On a floured surface, gently roll out the thawed puff pastry to about 1/8 inch thickness.
- In a bowl, combine the shredded extra-sharp white cheddar, grated Parmesan cheese, and a pinch of cayenne pepper.
- Using a sharp knife or pizza cutter, cut the pastry into strips about 1 inch wide.
- Sprinkle the cheese mixture over each pastry strip, and twist each strip into spiral shapes.
- Brush each twisted straw lightly with beaten egg for a golden-brown hue.
- Bake the cheese straws on a baking sheet in a preheated oven at 400°F for about 25-30 minutes.
